The Power of Less: Essential Features of Minimalist Home Design
-
Posted by
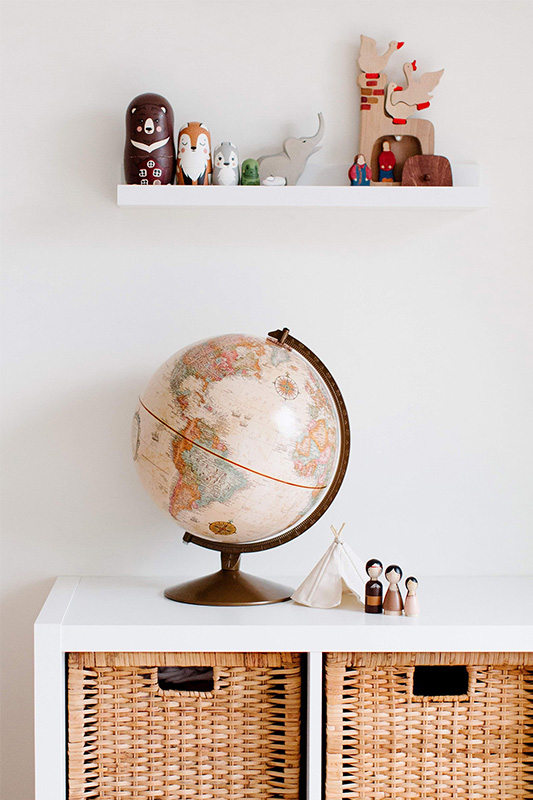
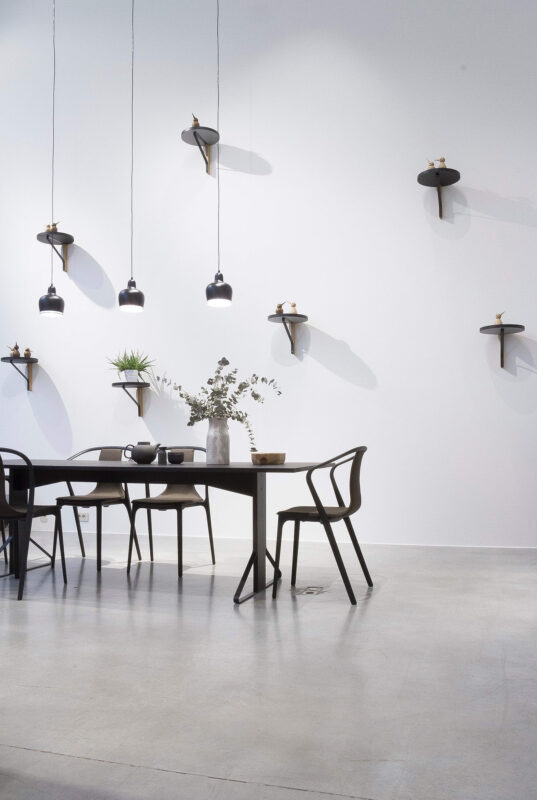
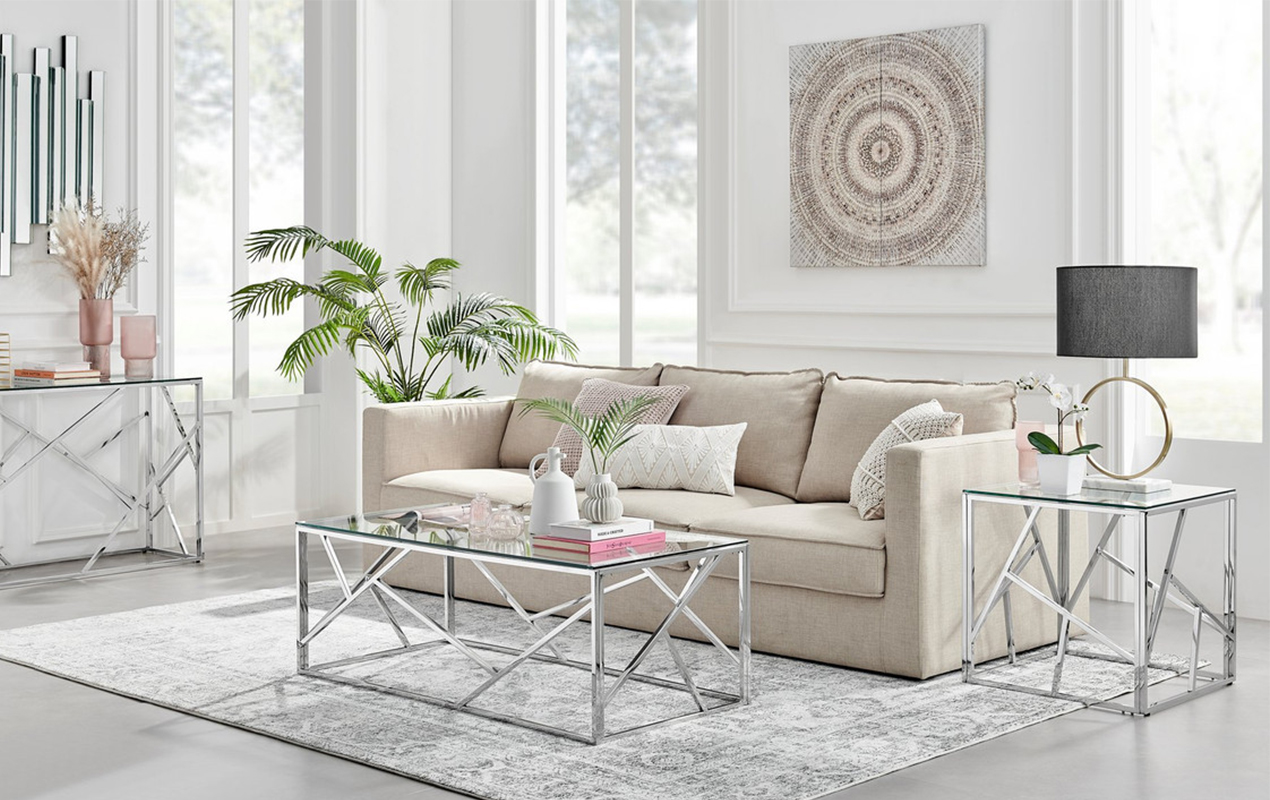
Features of Minimalist Home Decor
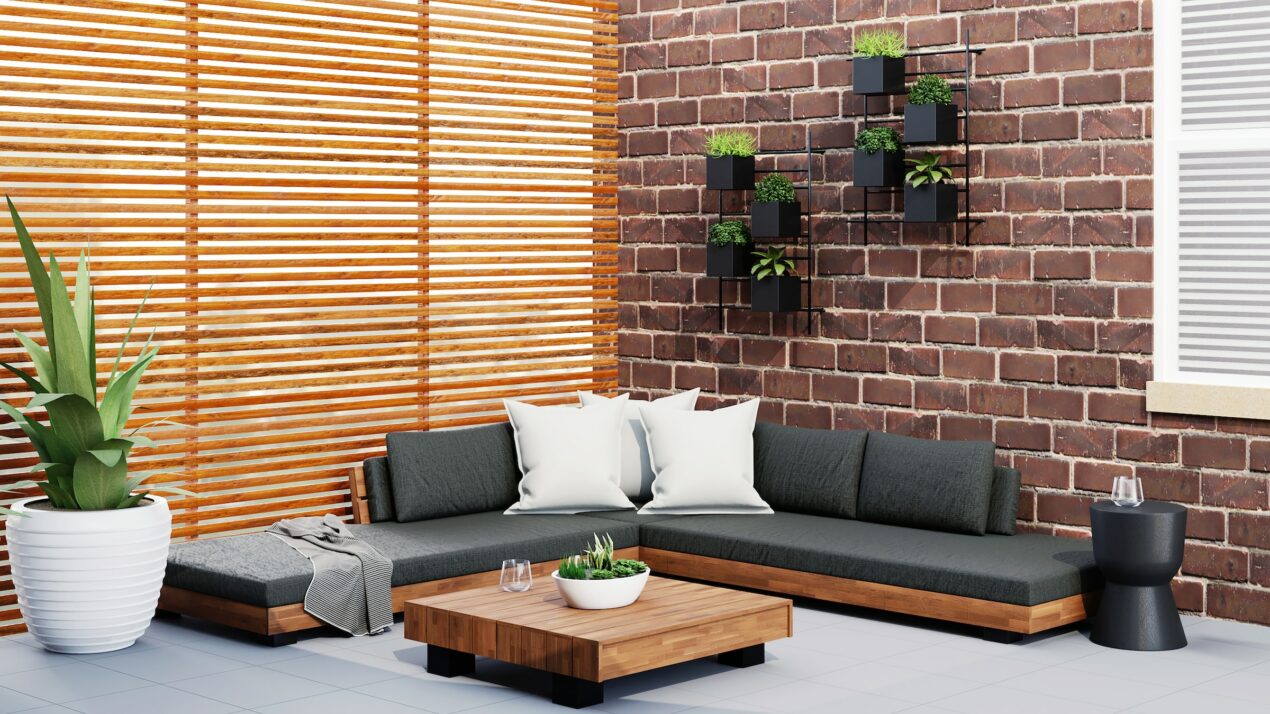
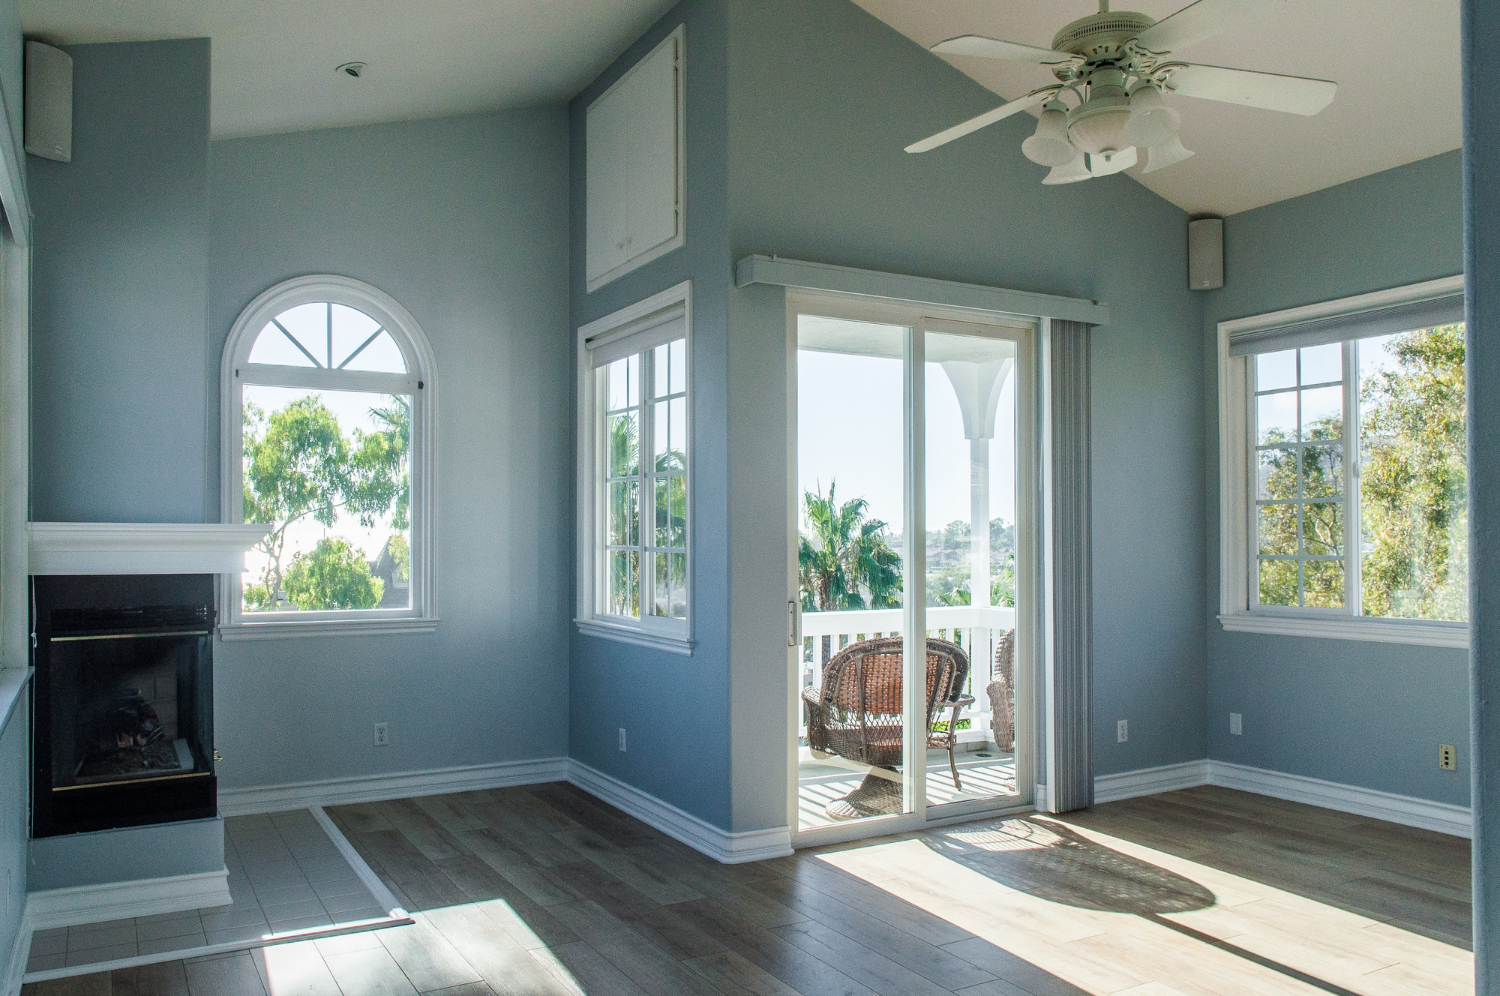
Minimalist home interior design brings s...
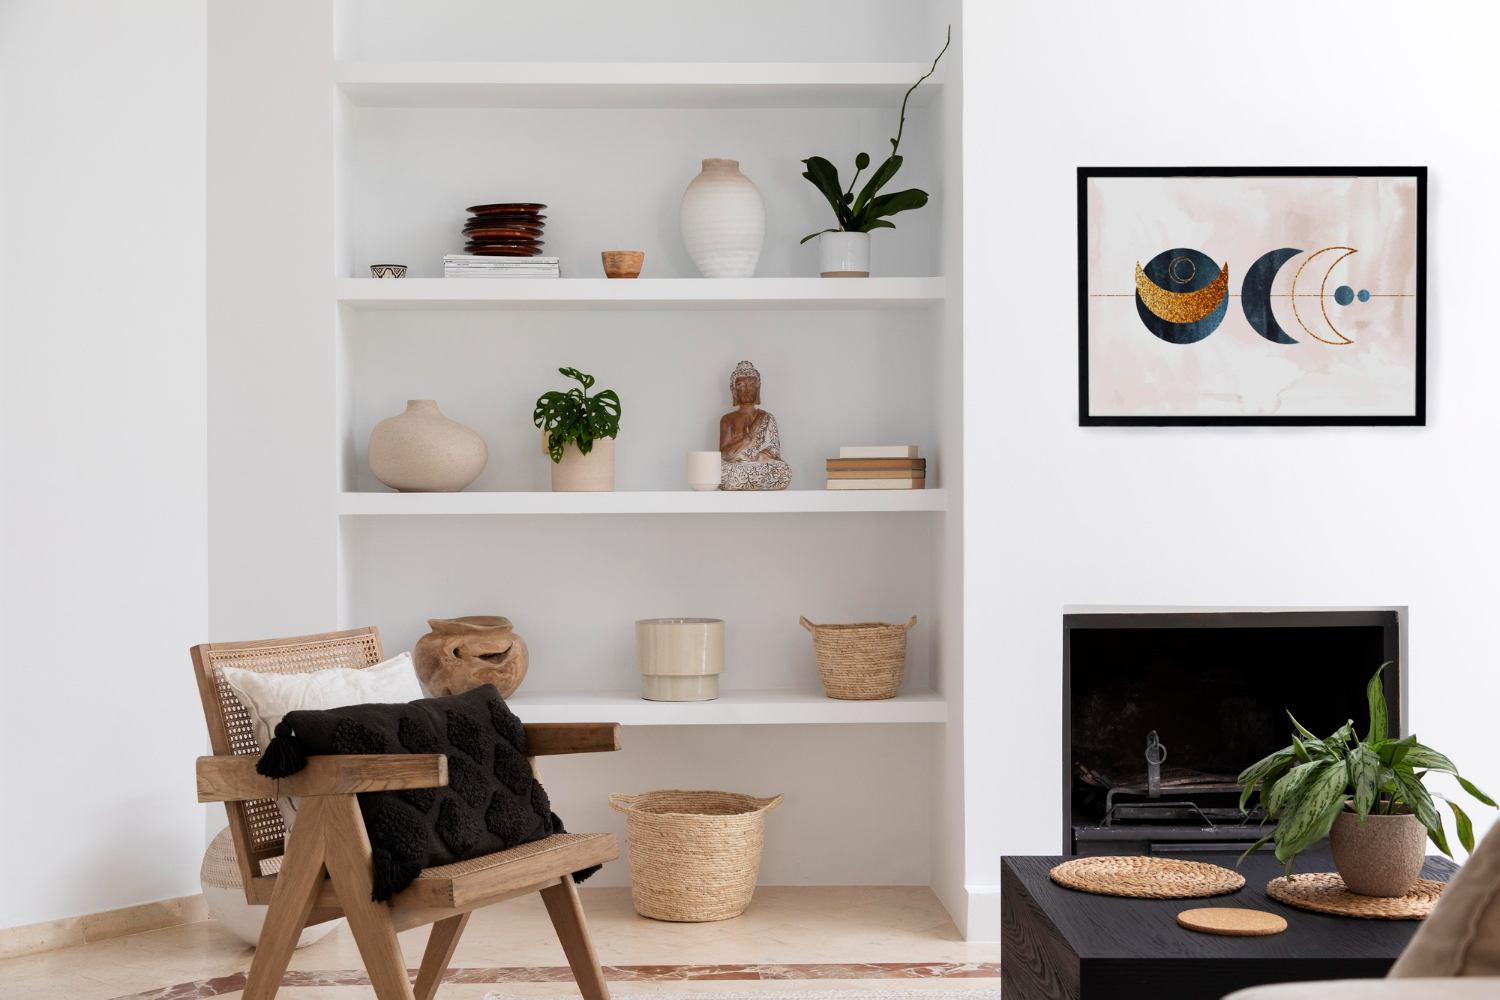
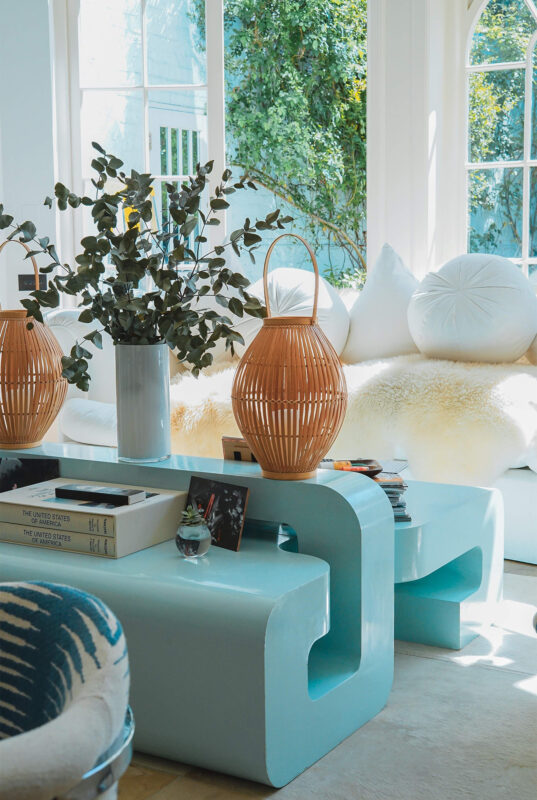
Did you know that interior design can massively impact your …
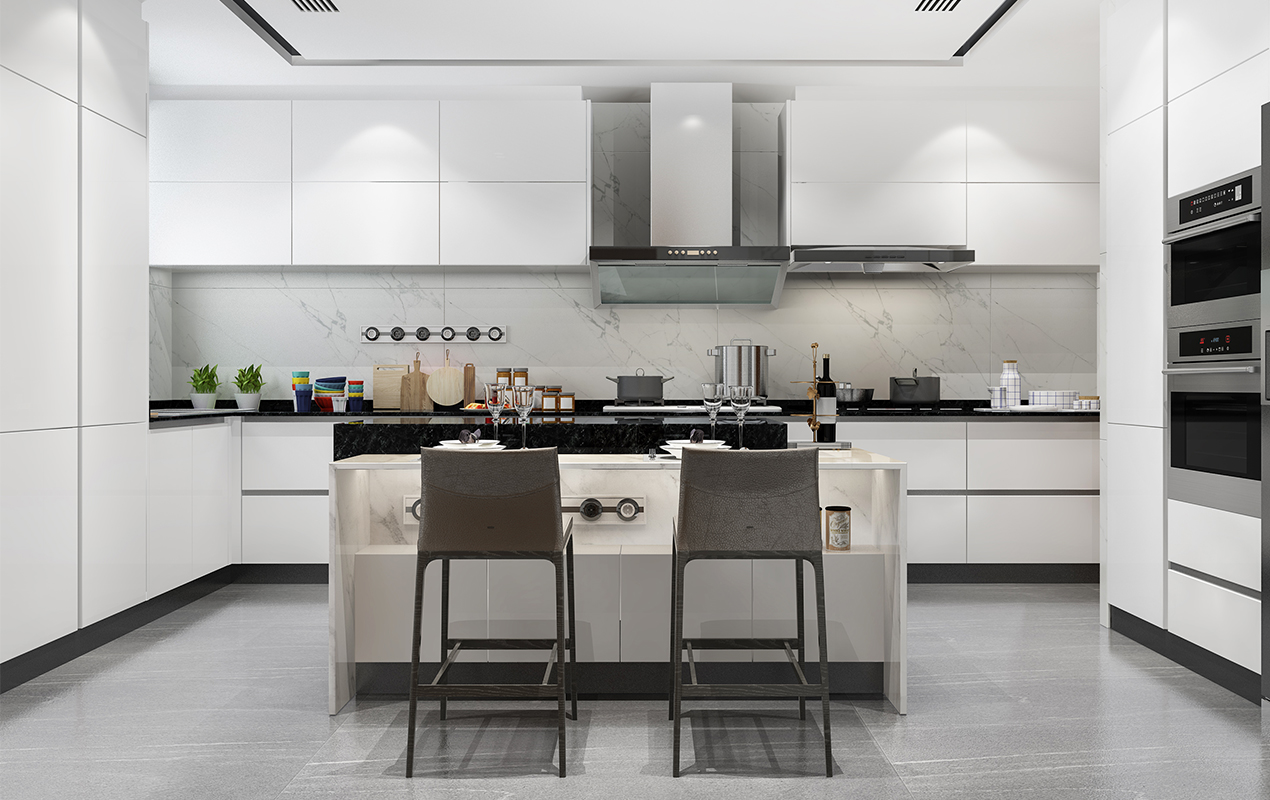
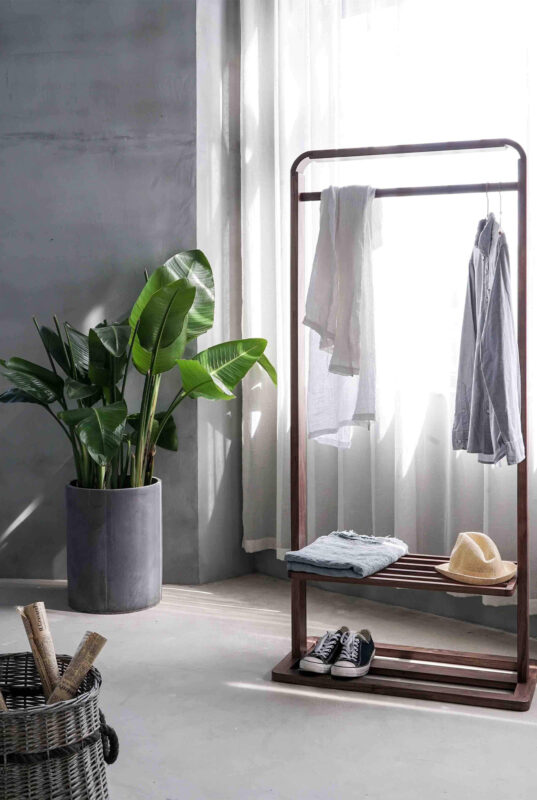
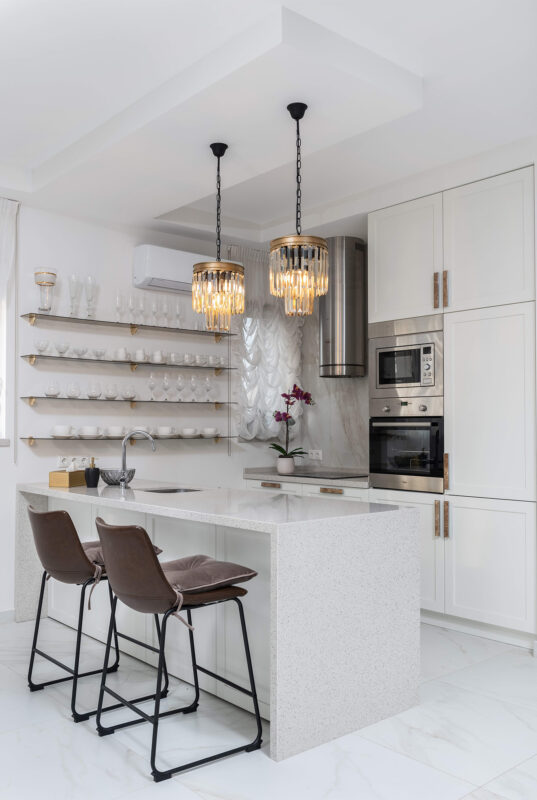
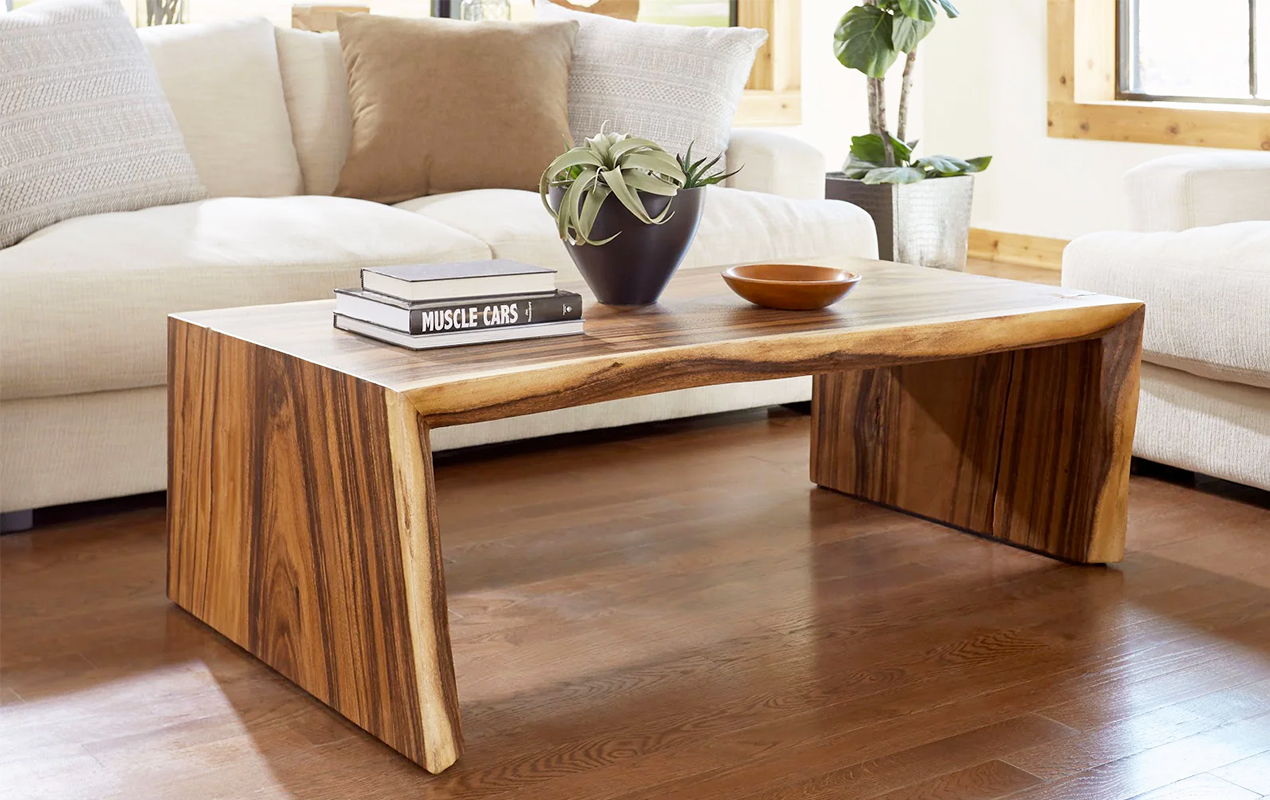
A kitchen island bar isn’t just a mere countertop; it’s where purpose …
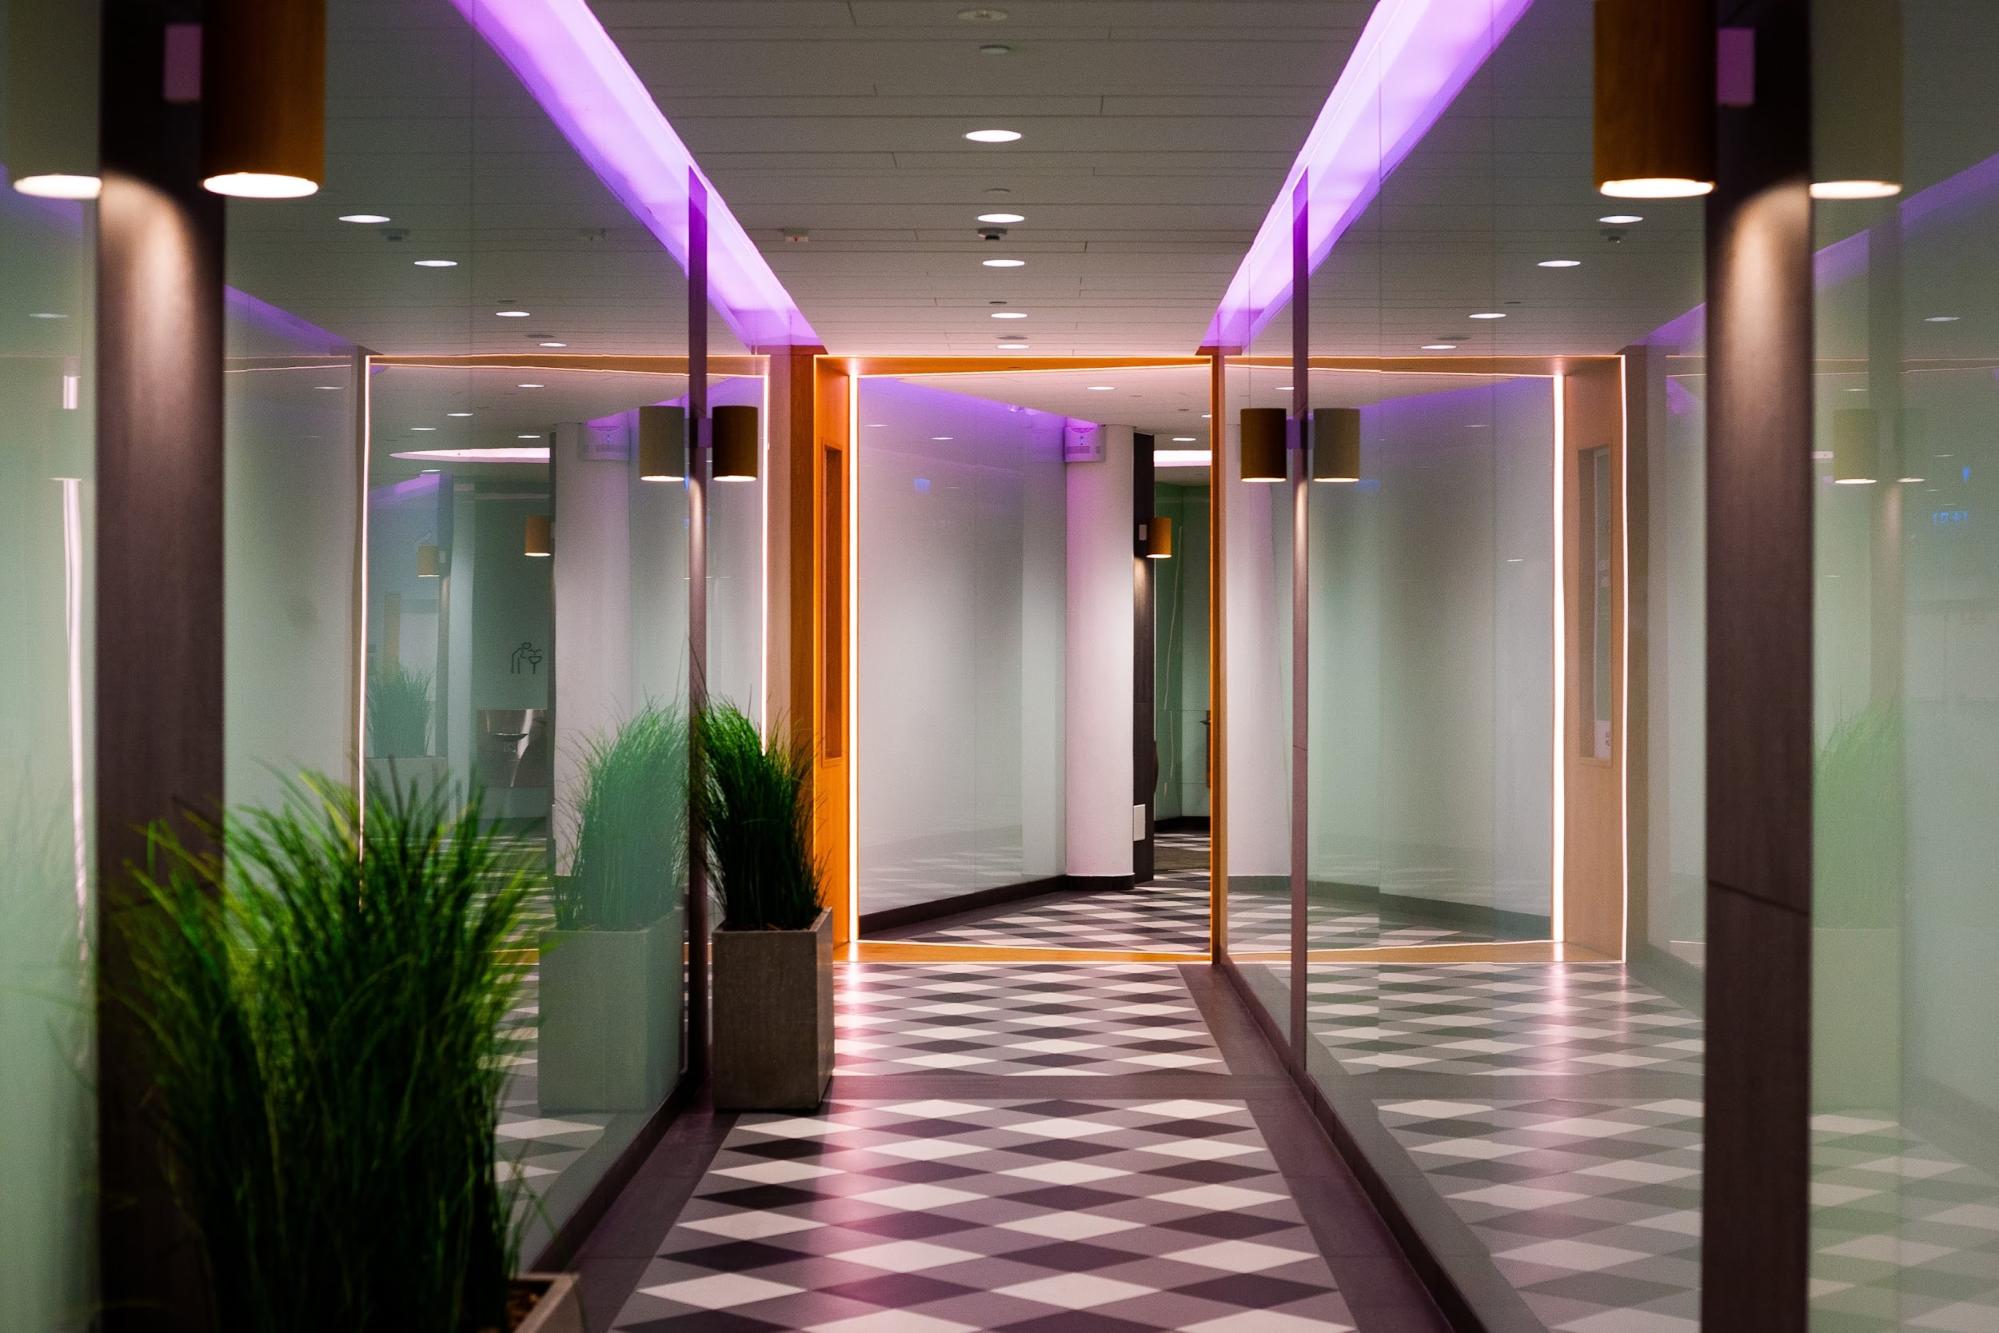
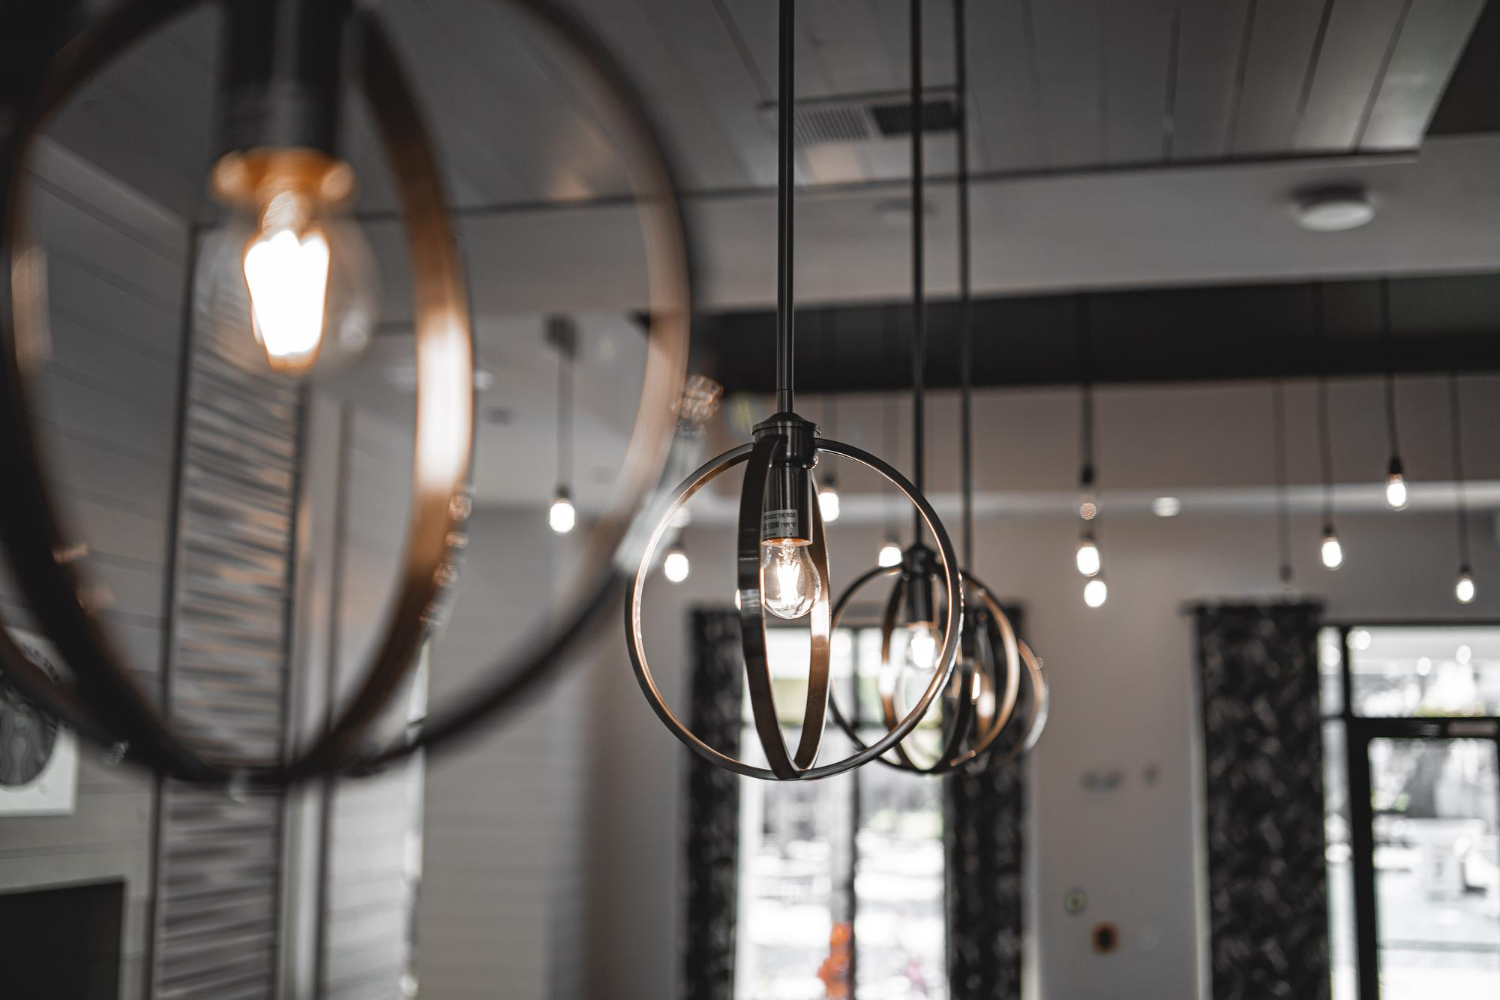
LED strip lights have revolutionized modern lighting, offering versatility, energy efficiency, and stunning aesthetics. However, to achieve a sleek and professional finish, it is essential to install LED aluminium profiles correctly. These profiles not only enhance light distribution but also provide protection and support for your LED strips. Whether you opt for recessed LED profiles, surface-mounted profiles, or corner-mounted designs, proper installation ensures durability and optimal performance.
In this guide, we will walk you through the process of installing an LED profile, covering essential tools, techniques, and best practices to create a flawless lighting project.
An LED aluminium profile offers several advantages for LED installation. Aluminium efficiently dissipates heat, extending the lifespan of your LEDs, ensuring they perform optimally for years to come. Profiles provide a sleek, professional finish by concealing wires and diffusers, contributing to a polished and seamless aesthetic that enhances any space. They also act as a protective barrier, shielding LED strip lights from dust, moisture, and accidental damage, making them suitable for both residential and commercial applications. Diffusers help soften and evenly distribute lighting, preventing harsh glare and creating a comfortable ambiance. Additionally, profiles offer mounting flexibility, as they can be recessed, surface-mounted, or corner-mounted, depending on your lighting project. With various styles and finishes available, LED aluminium profiles allow for customized solutions that fit the unique needs of each installation.
To install LED aluminium profiles, gather the following tools and materials:
Accurate measurements ensure a precise installation. Use a measuring tape to determine the required length of the LED profile. Mark the mounting surface to indicate where the profile will be installed. Double-check your measurements to prevent errors that could lead to misalignment or an uneven finish.
If necessary, use a hack saw to cut the profile to the correct length. Ensure the cut is straight to maintain a clean look. For a smoother cut, use a fine-tooth saw blade, and after cutting, remove any rough edges with sandpaper or a file to ensure a perfect fit.
For surface-mounted profiles, install mounting brackets along the marked surface. Secure them using screws or adhesive backing, ensuring they are straight and evenly spaced. Brackets should be positioned at regular intervals to provide stable support, preventing any sagging or misalignment over time.
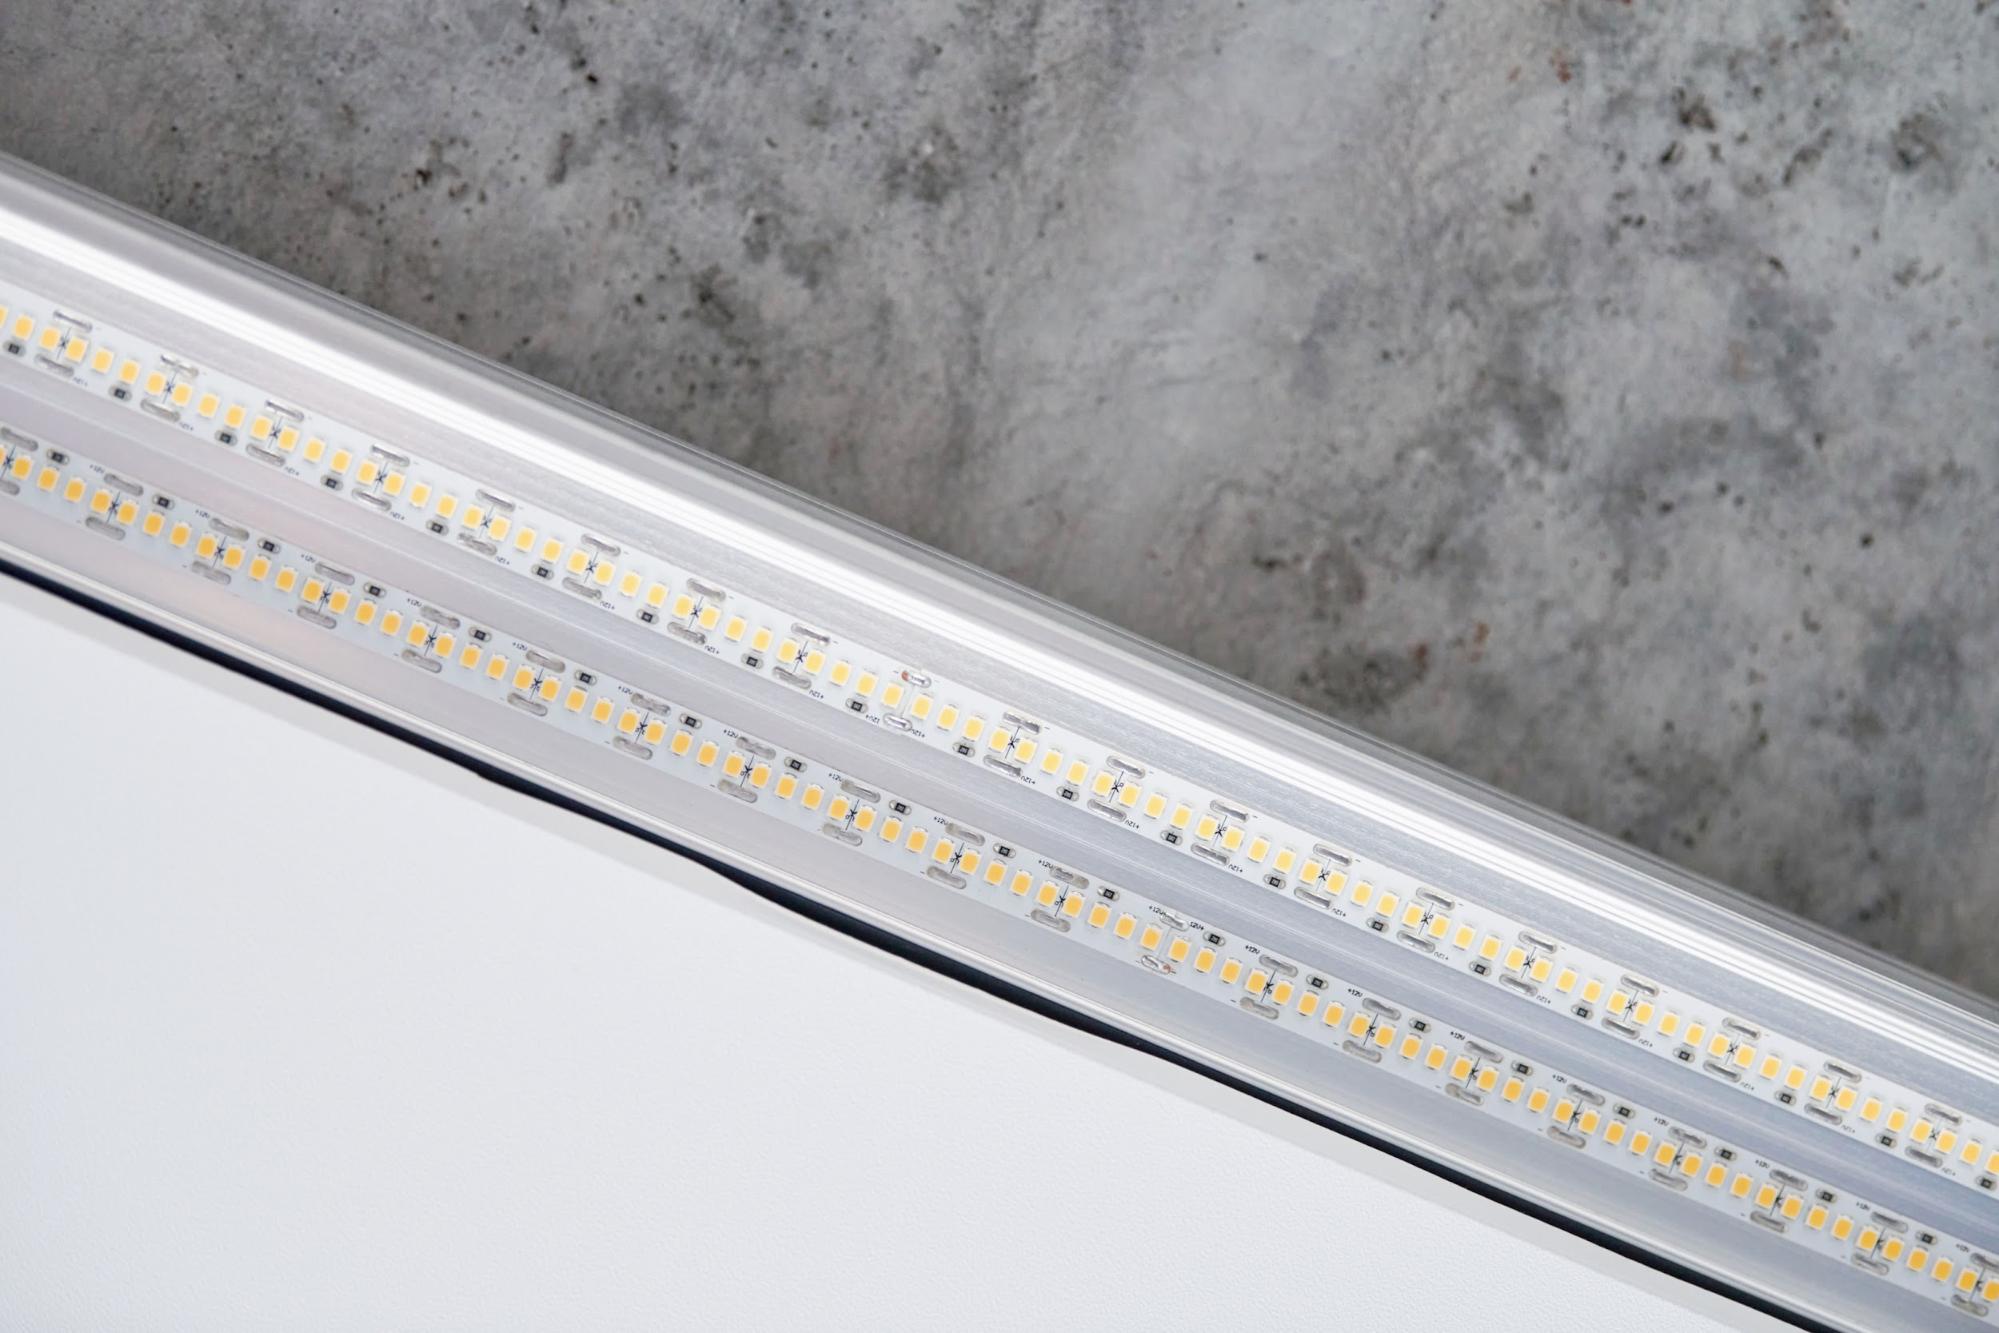
Remove the protective film from the adhesive backing of the LED strip and carefully stick it inside the LED profile. Ensure the strip is aligned straight for an even light distribution. Press down firmly to secure the strip and avoid air bubbles that could affect adhesion. If additional security is needed, use mounting clips or extra adhesive to hold the strip in place.
Place the diffuser over the LED strip to soften the light and protect the LEDs from dust and physical damage. Slide or snap the diffuser into place, ensuring a snug fit. The diffuser not only provides an even light distribution but also prevents direct exposure of the LED chips, which can cause glare.
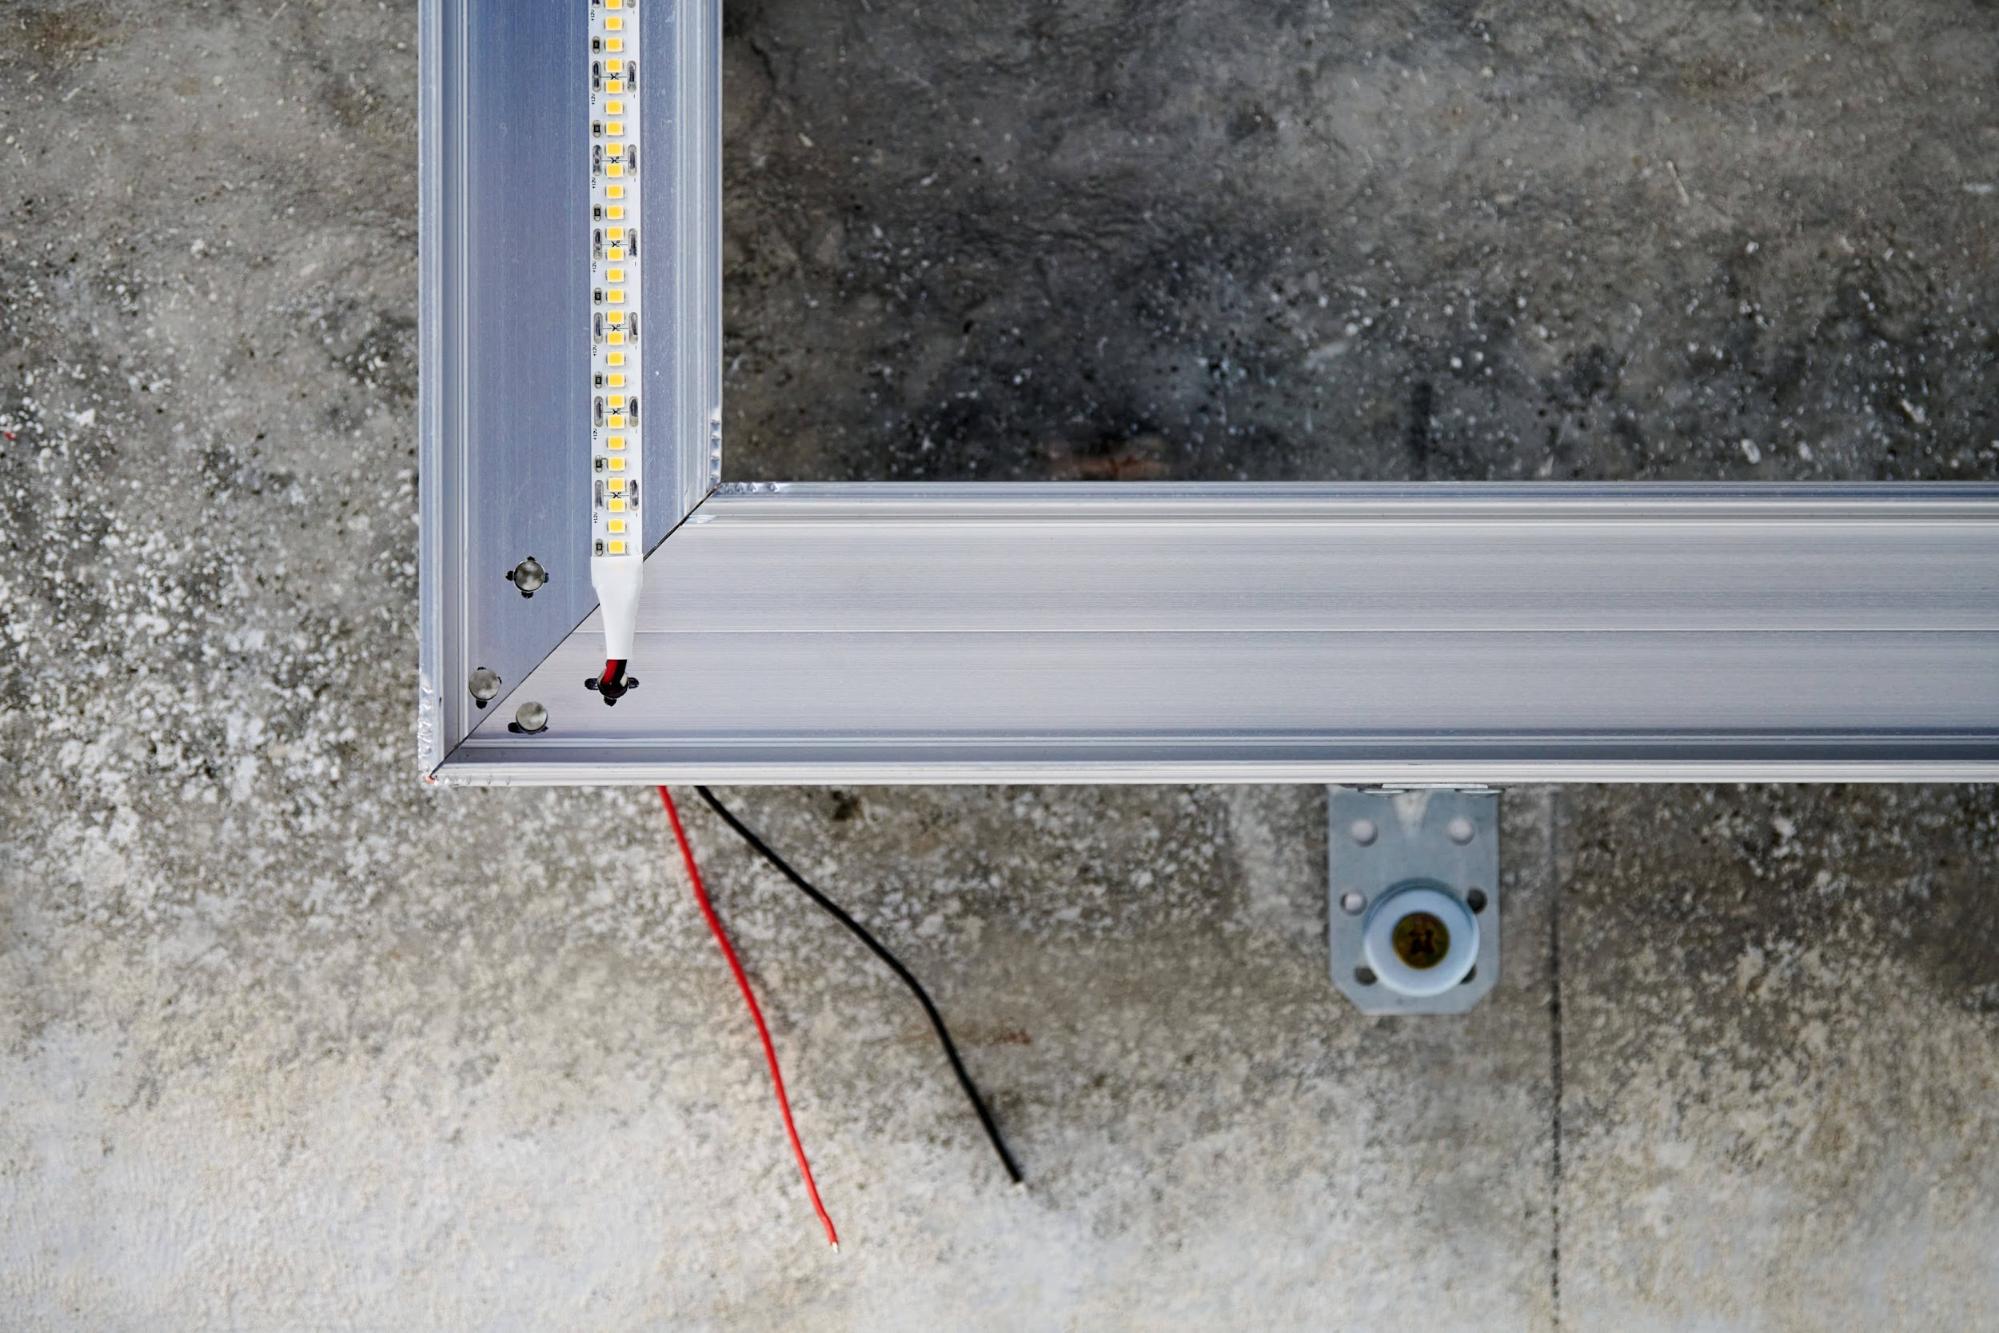
Attach the LED strip to a suitable power supply. Ensure proper voltage compatibility and consider using a dimmer or controller to adjust brightness and color. Proper wiring is crucial for safety and efficiency, so make sure all connections are secure and insulated to prevent short circuits.
Attach end caps to both ends of the profile for a finished look and additional protection. End caps prevent dust from accumulating inside the profile and help keep the LED strip secure. Choose end caps with or without cable holes depending on your wiring needs.
With recessed profiles, insert the profile into the pre-cut groove and secure it in place with screws or adhesive. For surface-mounted profiles, snap the profile onto the mounting clips or secure it using screws, ensuring even spacing to avoid warping. For corner profiles, position the profile at the desired angle and secure it, making sure the light is distributed effectively in the intended direction.
Turn on the LED strip lights to check for proper functionality. Ensure the light is evenly distributed and adjust positioning if necessary. If flickering or dimming occurs, inspect the wiring and connections to resolve any issues before finalizing the installation.
Ensure the mounting surface is clean and dry before applying adhesive backing, as dirt and moisture can weaken adhesion. Consider using plaster-in profiles if you want to integrate the lighting seamlessly into ceilings or walls for a modern, minimalist effect. If you want greater flexibility, install a smart controller that allows you to adjust brightness and color temperature for different moods and settings. Additionally, always check that your LED strips are suitable for the chosen profile to prevent overheating and ensure a long-lasting installation.
Common mistakes during installation can significantly impact the final result and performance of LED aluminium profiles. Ensuring each step is carefully executed will help avoid them and guarantee a professional and long-lasting installation.
Installing an LED aluminium profile enhances both the functionality and aesthetics of LED lighting. Whether you are working on a ceiling, wall, or custom project, following these steps will help you achieve a clean finish. By choosing the right profile, ensuring proper installation, and avoiding common mistakes, you can create a visually appealing and durable lighting solution for any space.