Blog
Give Your Coffee Table a Farmhouse Facelift: A Refinishing How-To

DISCLAIMER: The images in this post are for informational purposes to illustrate potential possibilities, recognizing that individual tastes vary. We aim to capture your wants and needs, expanding on each style where possible to offer a range of available options from reputable designers and affiliated brands. This selection process considers a variety of factors to ensure we cater to the diverse preferences of our readers.
Hey there! Tired of looking at your coffee table and feeling less than impressed? Maybe it’s time to give it a farmhouse makeover! With a little effort and supplies that we’ll outline here, you can learn how to refinish a coffee table farmhouse style and turn it into the centerpiece of your living room. Trust us, even if you’re a beginner, this project is totally doable and totally worth it. Imagine having a coffee table with character that looks like it came straight out of a Magnolia catalog! So, let’s roll up our sleeves, crank up the tunes, and get started on transforming your shabby table into a chic farmhouse dream. We’ll show you step by step how it’s done… Are you ready? Let’s do this.
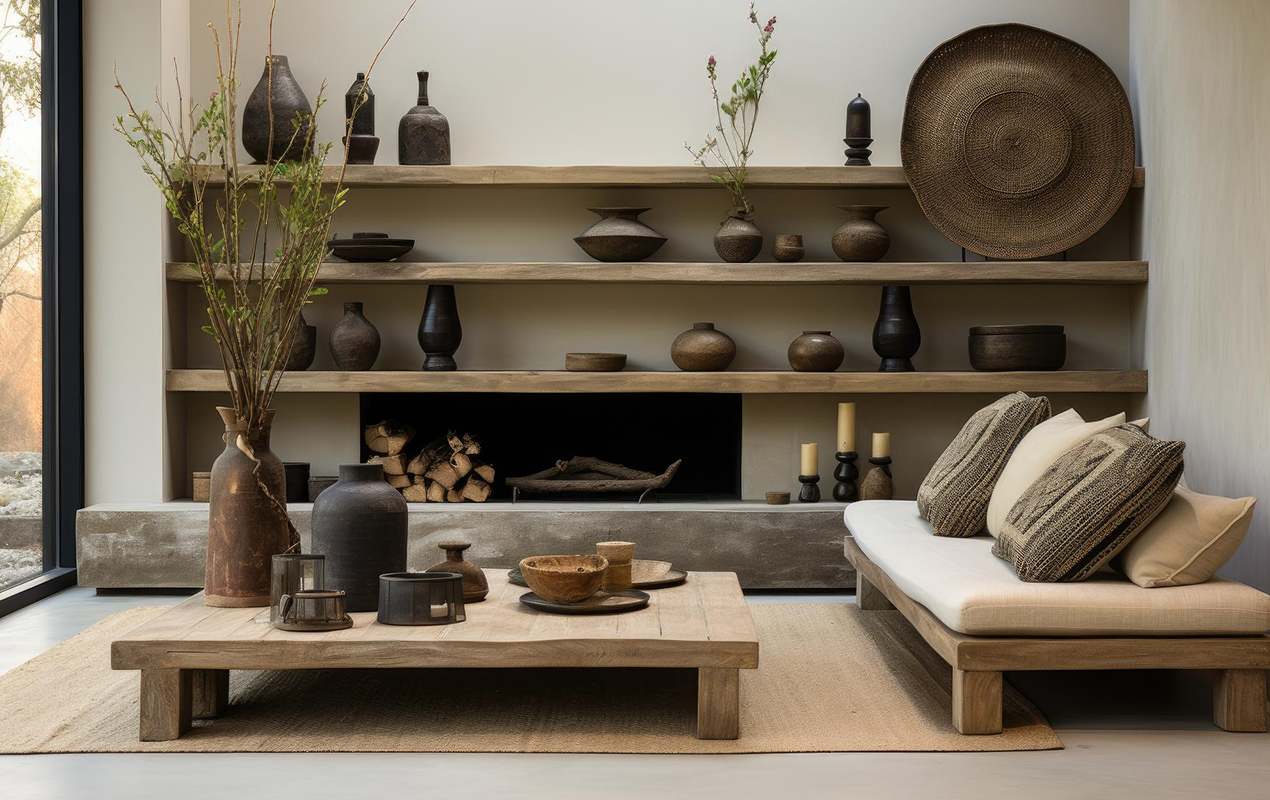
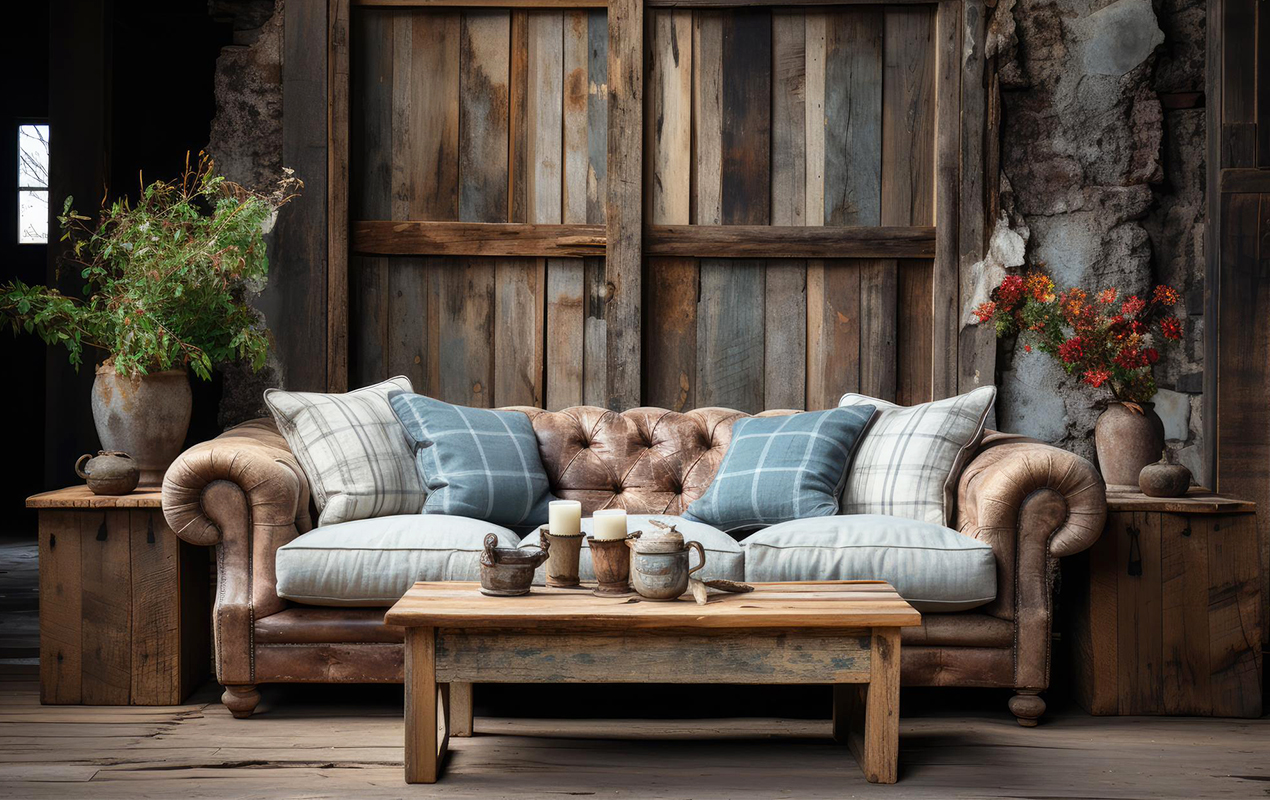
Photo by Mydecoration1 from Freepik
How To Refinish a Coffee Table Farmhouse Style: Staining Your Table
To give your table a farmhouse facelift, you’ll want to stain it. Staining allows the wood grain to show through, resulting in a weathered, timeworn look perfect for a cozy farmhouse style.
Supplies You’ll Need
- Wood stain in brown, gray, or black
- Paintbrush
- Paint tray
- Paint thinner
- Sandpaper (150 and 220 grit)
- Tack cloth
- Protective gloves
Prepare the Table Surface
Lightly sand the entire table with 150-grit sandpaper to rough up the surface, then wipe away dust with a tack cloth. Apply a coat of paint thinner to clean and condition the wood. Let it dry completely.
Next, apply a wood filler or patch compound to any dents, gouges, or imperfections in the wood and let dry. Lightly sand the filled areas. Now, you’re ready to stain and distress the wood for a rustic, timeworn look. Use 150-grit sandpaper to rough up edges and corners, scrubbing in small circles. For deeper dents, try a wire brush. Remember to wipe away dust again.
Related Article: Sand, Stain, Seal: A Guide On How to Refinish A Coffee Table
Apply the Stain
Stir the stain thoroughly before starting. Dip your brush in the stain and wipe off excess on the rim of the can. Apply the stain with even brushstrokes, going with the grain of the wood. Work in small sections at a time before the stain starts to dry. Let the stain dry as directed, then apply a second coat if you want a darker shade.

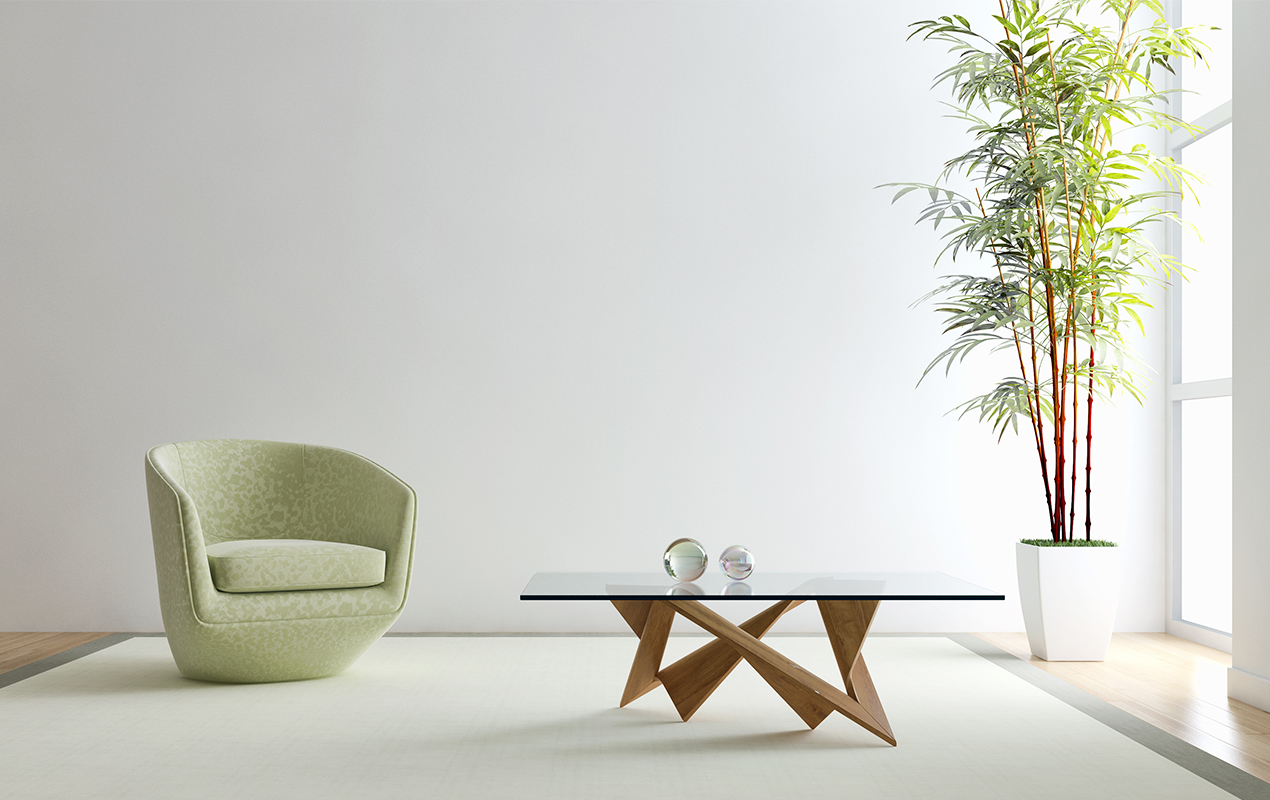
Photo by IamMujahidMalik from Freepik
Insight – Enrich the aesthetic appeal of the drawers by simply adding decorative hardware, such as antique brass pulls or handles.
Tips for Achieving an Authentic Farmhouse Vibe
Transforming a regular table into an authentic farmhouse-style centerpiece requires finishing techniques like distressing and antiquing. These will add character to your table, making it a standout piece within your setup. Get ready to impress with your DIY skills!
Discover More: 23 Antique Coffee Table Ideas: A Touch of Nostalgia for Your Home
Chipping
Chipping creates wear and imperfections found in well-loved farmhouse pieces. Use a putty knife, chisel, or wire brush to chip away at the edges and corners of your coffee table. Start with small chips, then stand back to review your work. You can always chip away more, so take it slow.
Painting
For a farmhouse coffee table, use flat or satin paint. Chalk paint also works great and adheres well to furniture. Apply two to three coats, waiting for each coat to dry completely between applications. Once the final coat is on, you’re ready to distress.
Gain Insight: How to Paint A Coffee Table: Tips to Paint Your Way to Success
Distressing
Use coarse (100–150 grit) sandpaper, steel wool, or a wire brush to lightly sand the table’s edges, corners, and surface. Focus on areas where natural wear and tear would occur, like edges, handles, or legs. After, wipe away dust with a tack cloth.
Read More: 18 Shabby Chic Coffee Table Ideas To Achieve a Distressed Finish
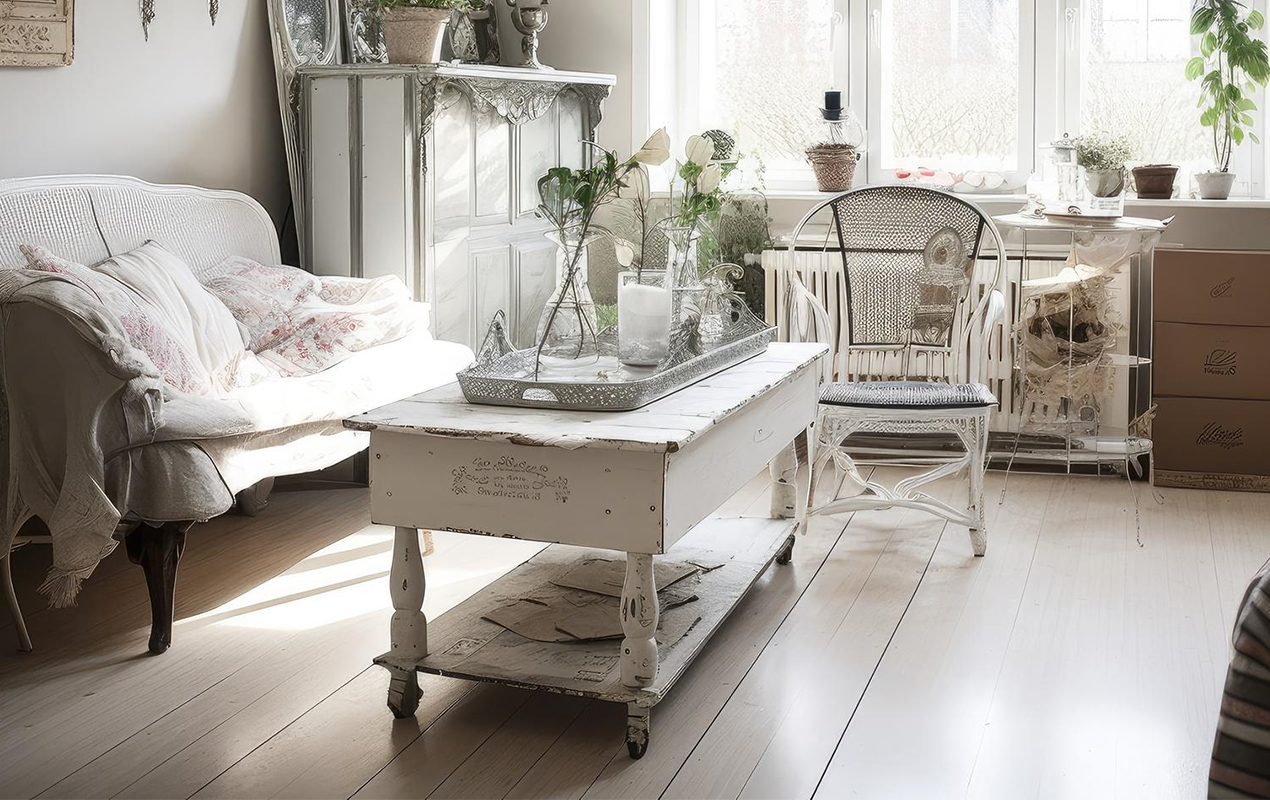
Photo by Studioworkstock from Freepik
Insight – Elevate the look of your furniture by adding decorative nailheads around the apron or legs. Opt for rusty or antiqued nailheads to create a vintage yet sophisticated touch.
How to Refinish a Coffee Table Farmhouse Style: Sealing and Protection
Once your table has been refinished, it’s essential to seal and protect the new finish. Applying a sealant will help prevent stains, scratches, and water damage to your refined farmhouse coffee table.
Apply Sealant
After the final coat of paint or stain has dried as directed, use a paintbrush or lint-free cloth to apply two to three coats of sealant, waiting for it to dry in between coats. For paint, use a clear acrylic sealer, and for stains, use a penetrating wood sealer. Follow the instructions on the product for proper application and drying times. The sealant will protect your coffee table from water rings, scratches, and stains that could damage the finish.
Add a Protective Topcoat (Optional)
For extra protection, you can apply two to three coats of a clear protective topcoat like polyurethane over the sealant. Wipe-on polyurethane is easy to apply and provides a durable yet natural-looking matte finish. Apply it in thin, even coats using a lint-free cloth, waiting for it to dry completely between coats. The polyurethane forms a protective barrier over the sealant and finish.
Add Furniture Pads
Attach felt pads, sliders, or casters to the underside of the table legs before placing them on hard flooring. This prevents floor scratches and allows the table to glide easily. For carpeted floors, the pads will prevent the table from sticking to the carpet.
Protect the Finish
Place protective pads under furniture to avoid scratches. Use placemats under glasses, drink coasters, and table pads under decorative items. Dust and wipe up spills immediately to prevent water damage, and avoid sliding heavy objects across the table surface.

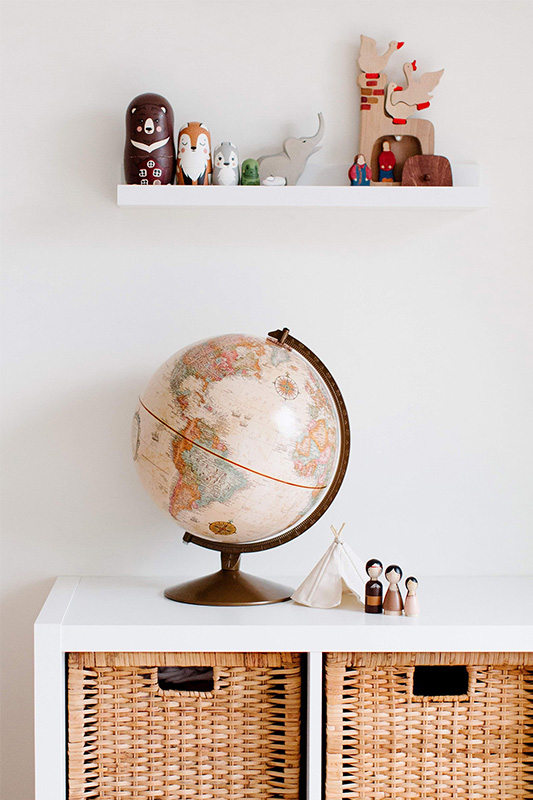
Photo by Digital_Ink from Freepik
Insight – Transform your plain tabletop into a stunning centerpiece with a touch of farmhouse vibe. Decoupage old maps, sheet music, or newspaper clippings onto it for a unique and eclectic look. Once done, seal it with a coat of varnish to preserve its appeal.
Style Your Refinished Table with Farmhouse Accessories
Now that your table is stained, sealed, and protected, it’s time to style it for that perfect farmhouse look. Here are some simple accessories to complete the look:
Vintage or Repurposed Items
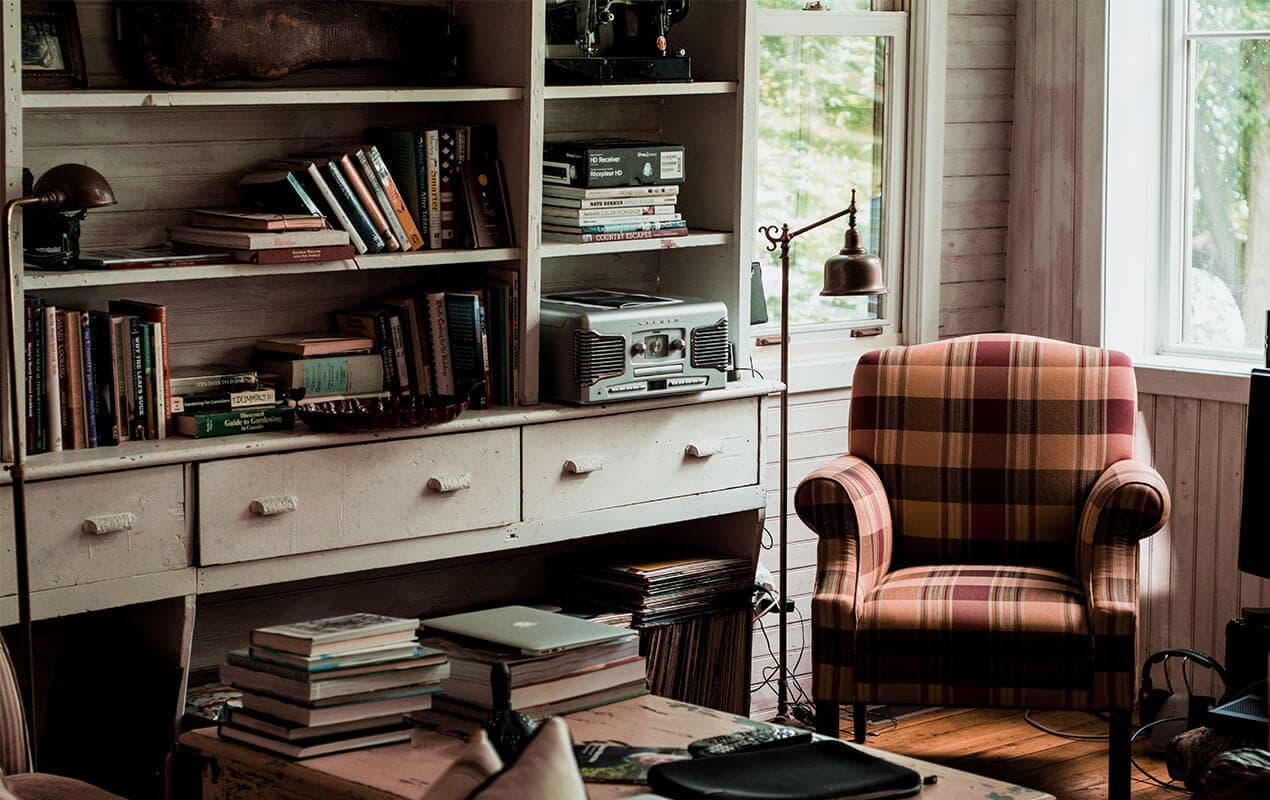
Use old books, crates, buckets, or baskets to add height and visual interest. Look for pieces with a worn, rustic feel. Stack a few books under a prominent, heavy book or decorative item. Place a crate or basket on its side and fill it with rolled-up blankets, throw pillows, or greenery.
Lanterns or Candles
Lanterns or candles atop your table create a warm, cozy glow. Look for lanterns in galvanized metal or natural wood and fill them with real or battery-powered candles. For extra ambiance, choose candles with scents reminiscent of nature, like pine, cedar, or lavender.
Greenery
Add life to your table with greenery like eucalyptus, lavender, or rosemary sprigs. Display them in a pitcher or vase; the fresh, herbal aroma complements the farmhouse style. Don’t forget to change out the greenery with the seasons to keep things looking natural.
Rustic or Reclaimed Wood
A wooden serving tray, board, or box adds natural warmth. Look for pieces with rough, unvarnished wood and natural imperfections. Use one to corral small items on your table or as a surface for drinks and snacks.
Burlap, Linen, or Cotton
Drape a piece of burlap, linen, or cotton over part of your table for a rustic table runner. Let the edges remain raw and unfinished as the natural, textured fabrics enhance the farmhouse feel.
Related Article: 29 Coffee Table Decor Tips: Subtle Touches for Maximum Impact

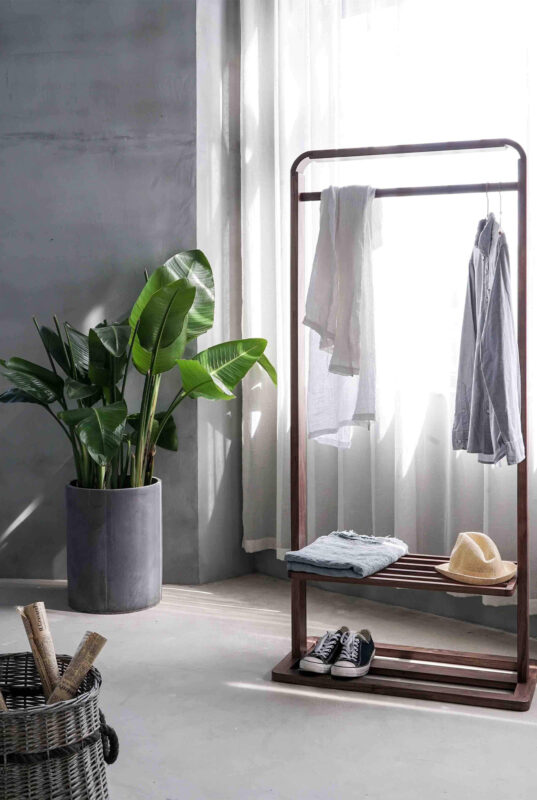
Photo by Abubokor from Freepik
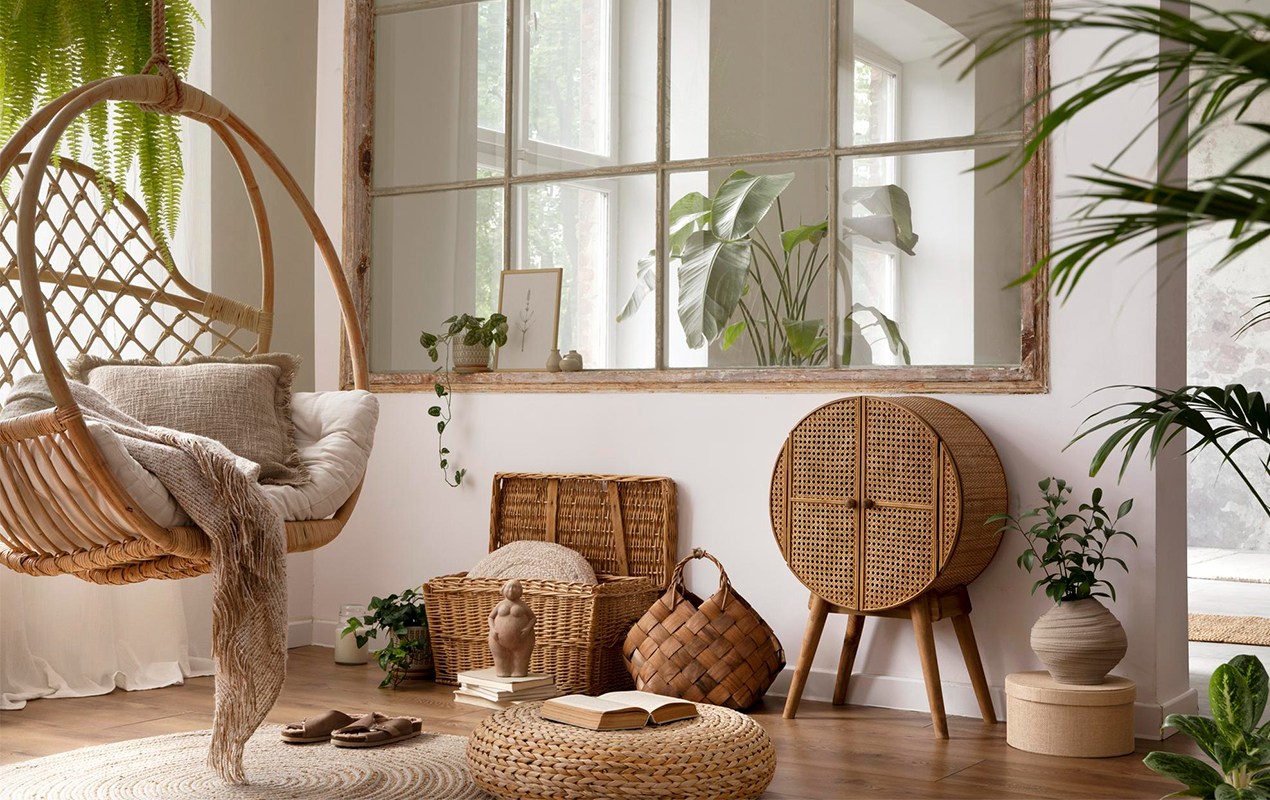
Insight – For that perfect rustic touch, add some jute twine around the legs, burlap placemats, or a wooden tray. It will create a cozy and inviting atmosphere that your guests will love.
Final Thoughts
So there you have it; you’ve made it to the end of our guide to giving your coffee table a farmhouse makeover. By following these simple steps, you can transform an ordinary table into an exquisite focal point set to impress all your guests. Imagine the feeling of pride you’ll have when you see your friends and family admiring your handiwork. You’ll be the talk of the town with your cozy farmhouse vibe that ties your space together.
Read More: 27 Coffee Table Design Ideas You Never Knew You Needed
The best part? You can change up the look anytime you want! Simply sand it down and start over—the possibilities are endless. So don’t wait any longer. Grab your supplies and get ready to dive into this fun and creative project. You’ve got this!


