Key Design Elements for Styling a Living and Dining Room Combo
Open-plan living is a dream come true for some homeowners, …
DISCLAIMER: The images in this post are for informational purposes to illustrate potential possibilities, recognizing that individual tastes vary. We aim to capture your wants and needs, expanding on each style where possible to offer a range of available options from reputable designers and affiliated brands. This selection process considers a variety of factors to ensure we cater to the diverse preferences of our readers.
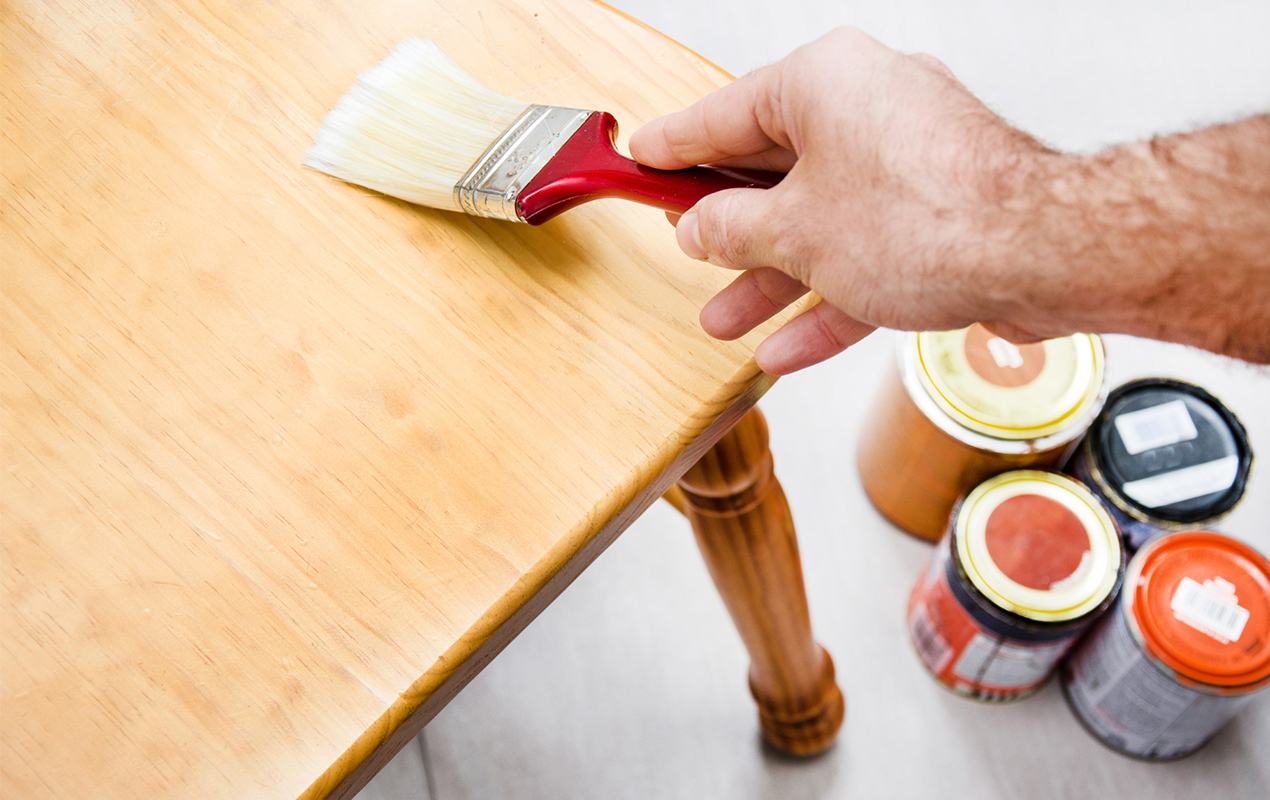
Planning to give your old coffee table a new look by painting it? That’s a terrific idea! We guess the next question is: How to paint a coffee table? Yes, we have the answers. A fresh coat of paint can add a whole new vibe to your living room. However, before you start, there are a few essential things to keep in mind. Painting furniture may seem easy, but even experienced DIYers can make mistakes. By following these tips, you can ensure that your paint job looks professional and is longer lasting and that your table looks as good as new. With patience and the correct techniques, achieving a showroom finish is possible! Let’s get started.
First things first, clear everything off your table and give it a good wipe down. Get rid of dust, grime, and rings from wet glasses—anything that could prevent the paint from adhering correctly. For stuck-on messes, you may need to scrub a little harder with a degreaser or multi-surface cleaner and some elbow grease.
Once clean, lightly sand the table with fine-grit sandpaper (around 220 grit) to rough up the surface. Wipe away dust with a tack cloth. This step provides a “tooth” for the new paint to grip onto. If there are any scratches or dings in the wood, fill them in with wood filler and let dry as directed. Then, sand smooth.
You’ll also want to apply a primer, especially if you’re painting a dark color or over a stained wood table. Primer helps prevent bleed-through and provides an even base coat. Apply two coats of primer, waiting for it to dry between applications. When the primer is dry, you’re ready to paint! Enamel or acrylic paint works well for coffee tables since it’s durable and moisture-resistant. Work in thin, even coats, waiting for each coat to dry before adding another. Aim for two to three paint coats for good coverage.
Once the final coat is dry, you may want to add a clear topcoat, like polyurethane, to protect the new finish. Two coats of polyurethane, waiting for it to dry in between, should do the trick. Let the table cure for at least 24 to 48 hours before putting anything on it. With time and patience, you’ll have a coffee table that looks like new. The effort will be well worth it when you see the transformed result!
Read More: Embellish Your Home with 25 Painted Coffee Table Design Ideas
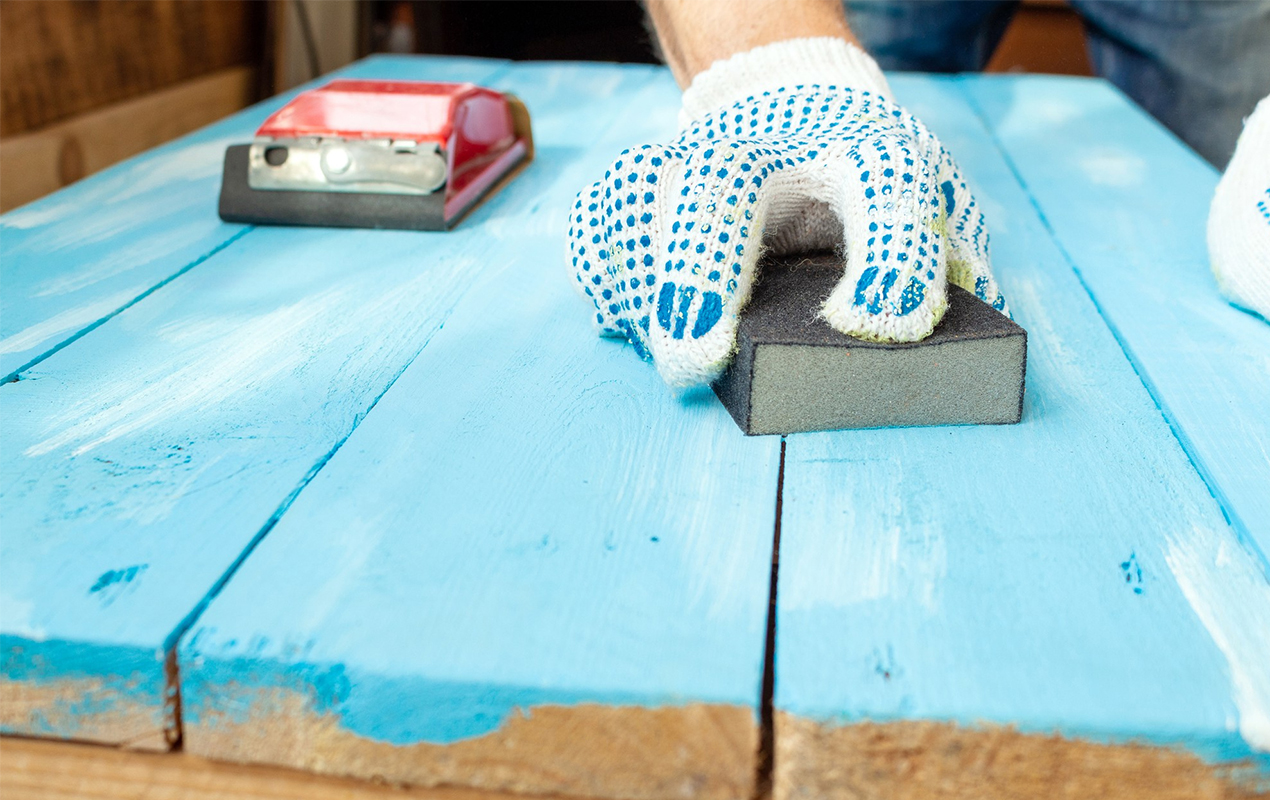
Photo by User17298754 from Freepik
Insight – Ensure the area where you are painting has good ventilation. It’s advised to wear protective gear, such as gloves and masks to prevent inhaling dangerous chemicals and fumes.
Painting a coffee table is a fun DIY project that allows you to add your personal flair. To achieve effects that make your table unique, try some of these techniques:
Stencils are an easy way to create crisp patterns on your tabletop. Place the stencil on the table and dab or roll the paint onto it using a stencil brush. Lift away the stencil to reveal your design. For best results, apply multiple thin coats of paint instead of one thick coat.
Dabbing a natural sea sponge into different shades of paint creates a mottled, textured look. Start with a base coat, then dab contrasting shades onto the table with a damp sponge using a stippling motion. Wipe away excess paint with a rag as you go to avoid drips.
Distress your table by sanding edges and surfaces after painting for a rustic, worn-in vibe. Use fine-grit sandpaper to gently rub away paint until you achieve your desired distressed look. Wipe away dust with a tack cloth and apply a sealant like wax or polyurethane for protection.
If you prefer the look of wood grain, consider staining your table instead of painting it. Wipe away dust, then apply two to three coats of stain with a brush, waiting five to 10 minutes between coats. Let it dry as directed, then seal the stain with polyurethane for a durable finish.
Read More: 27 Coffee Table Design Ideas You Never Knew You Needed
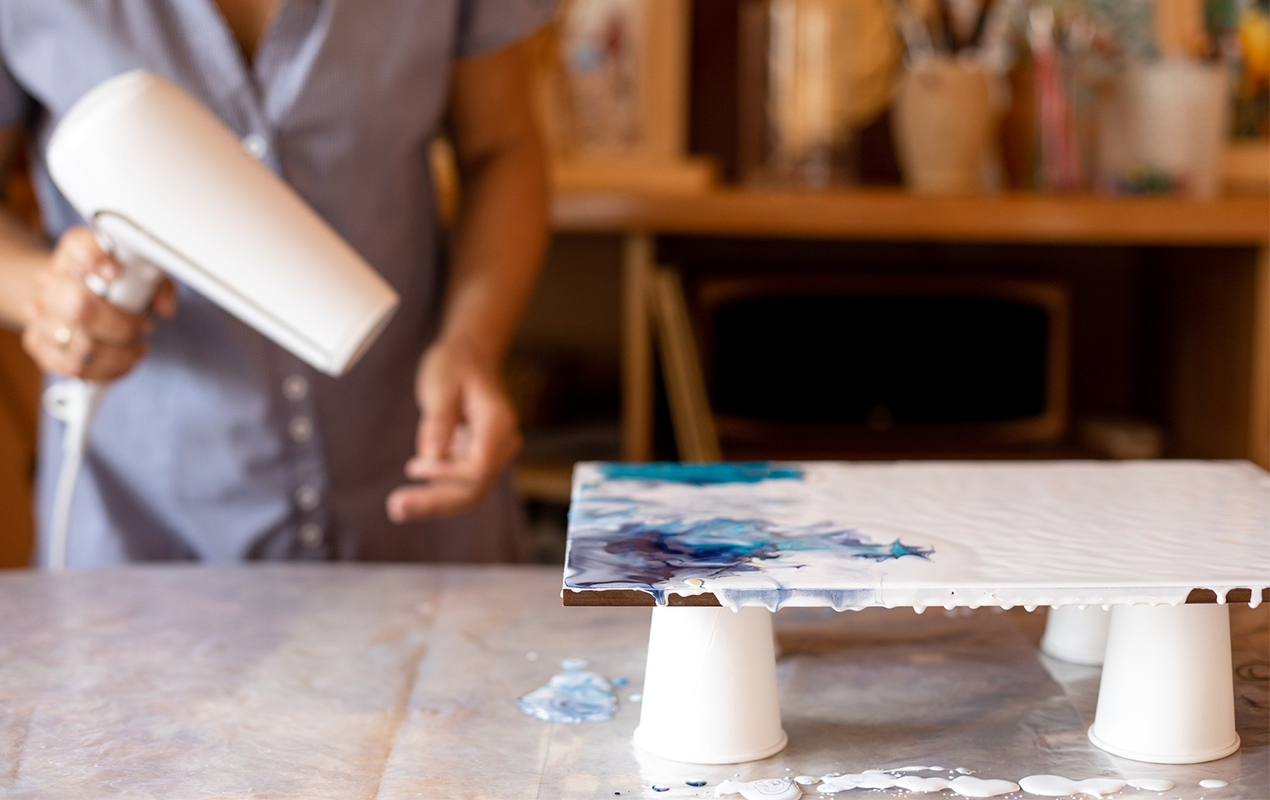
Photo by Talkinapa from Freepik
Insight – Make sure to clean your brushes and tools after use. To clean your brushes and trays, you can use paint thinner or mineral spirits.
Now that your table is painted, it’s time to seal and protect it so it lasts. Apply two to three coats of sealant, waiting for each coat to dry completely between applications. This protects the paint and provides a long-lasting finish.
There are a few good options for sealants. Polyurethane is a popular choice. It comes in glossy, satin, and matte finishes. Glossy polyurethane provides the most protection but can look too shiny for some. Satin or matte polyurethane cuts down the shine while still protecting well. Water-based polyurethane is low-odor and dries quickly. Oil-based polyurethane takes longer to dry but provides better protection.
Apply the sealant with a high-quality synthetic brush. Foam brushes can leave visible brush strokes. Carefully pour the sealant into a paint tray. Dip just the brush tip in the sealant and tap off any excess. Use smooth, even strokes and avoid over-brushing.
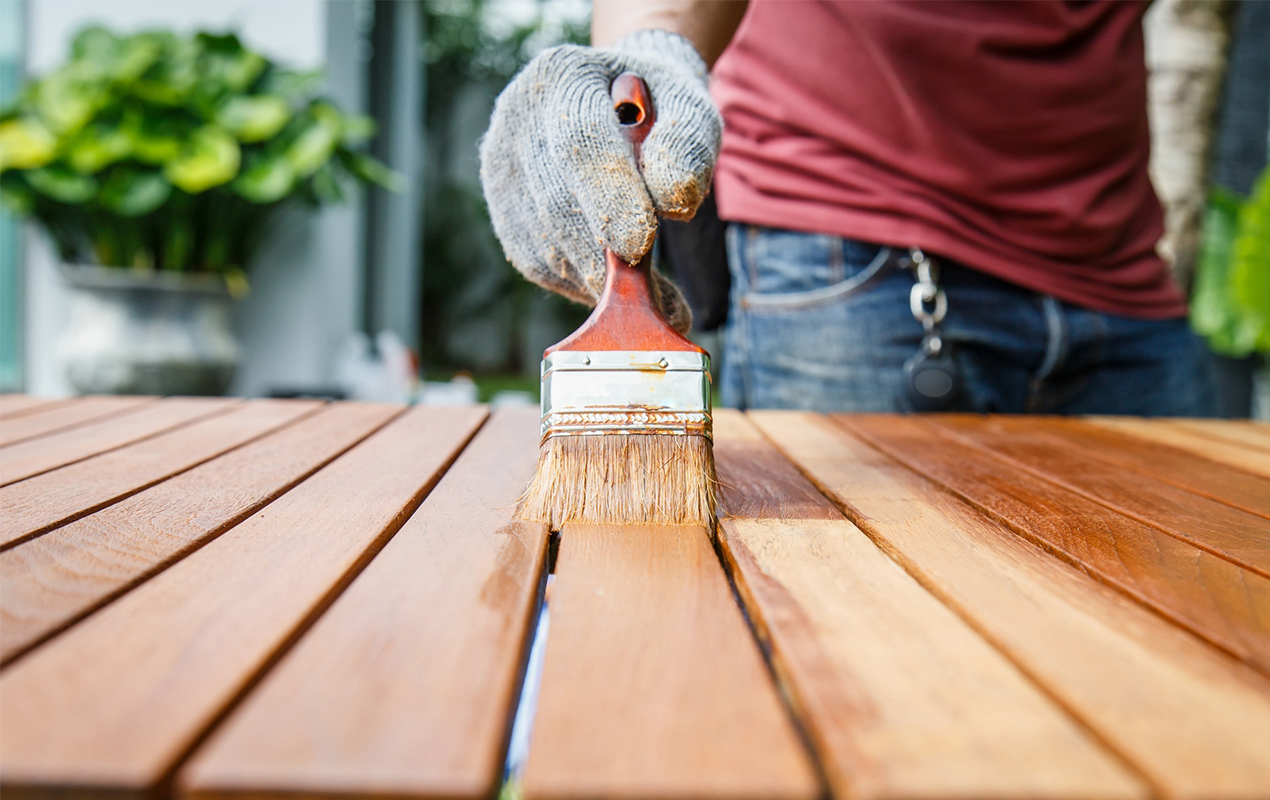
Photo by Phanuwatnandee from Freepik
Insight – Hold the brush at a 45-degree angle and use long, even strokes when applying paint. For intricate details and edges, opt for a foam brush.
Avoiding mistakes when painting your coffee table will help ensure you get professional-looking results. Take your time and pay attention to the details—your patience will pay off!
Make sure your table is clean and free of dirt or debris before you start painting. Wipe it down and lightly sand any rough spots. Apply a primer if the table isn’t made of solid wood. Prime the table even if the paint claims to be “primer + paint.” Primer helps the new paint adhere better and provides an even base coat.
Invest in paint specifically meant for furniture or cabinets. These paints are more durable and provide better coverage. Latex or acrylic paint works well for most coffee tables. Oil-based paint has strong fumes, so only use it if you have proper ventilation. For the best results, apply at least two coats of paint, waiting for each coat to dry as directed before adding the next one.
For More Info: Acrylic Coffee Table Bliss: 20 Design Ideas to Steal for Your Home
Don’t forget to paint the table’s legs, edges, and underside. Use a brush to paint narrow areas and edges before rolling the large, open surfaces. Roll in different directions with each coat to provide even coverage. Let the final coat dry thoroughly, then apply a clear topcoat like polyurethane to protect the new paint job. Two coats of topcoat are best, waiting for each to dry in between applications.
Gain Insight: 20 Live Edge Coffee Table Ideas Where Rustic Meets Refined
It can be tempting to rush through the painting process, but take your time. Waiting for each coat of paint and topcoat to dry completely will give you the best results and prevent drips or brush marks. Rushing can lead to missed spots, uneven coats, and a messy finish. Patience, grasshopper! Your newly painted table will be worth it.
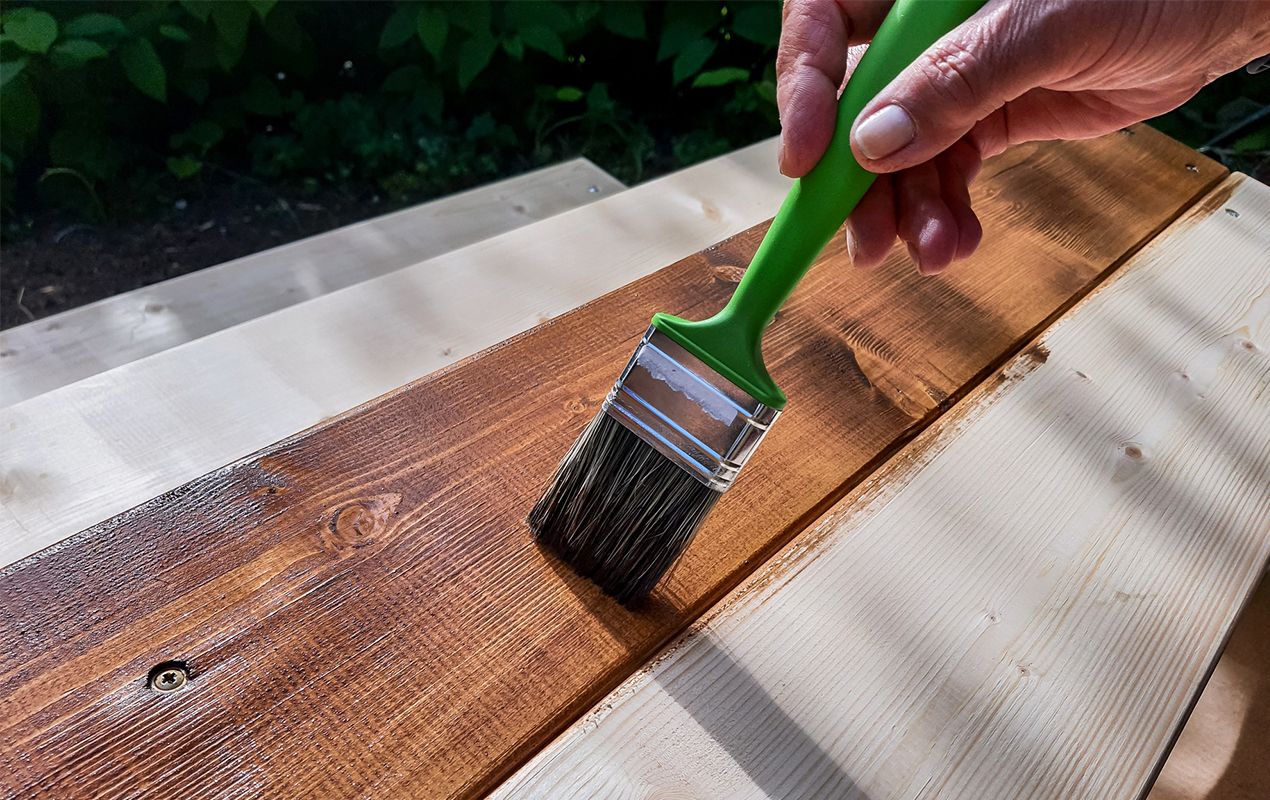
Photo by Yuliapetrova from Freepik
Insight – Use painter’s tape to mask off any parts of the table you don’t want painted, like the legs. Remove the tape right after painting that section.
By following the proper preparation, priming, and painting techniques, you can paint your coffee table like a professional. You have all the tools and tips you need to transform your table into a custom piece that you’ll love. So, grab your brushes, roll up your sleeves, and get started. With patience and the advice mentioned here, you’ll proudly display your newly painted masterpiece in no time. Every time you set down a cup of coffee or a plate of snacks, you’ll get to enjoy the results of your hard work. With persistence and helpful advice, you’ve got this.