Blog
How to Build a Coffee Table With Storage – Opening Help & Advice

DISCLAIMER: The images in this post are for informational purposes to illustrate potential possibilities, recognizing that individual tastes vary. We aim to capture your wants and needs, expanding on each style where possible to offer a range of available options from reputable designers and affiliated brands. This selection process considers a variety of factors to ensure we cater to the diverse preferences of our readers.
You know that feeling when your living room looks cluttered and messy, but you just don’t have the storage space? We’ve all been there. Coffee tables are functional furniture, but some lack storage options. What if you could build your own, with storage, for all those books, remotes, and knickknacks that end up strewn across the tabletop? In this DIY guide, you’ll learn how to build a coffee table with storage compartments. For minimal outlay and a few hours of work, you can have a custom table that clears up clutter and renders a high-end look. Grab your tools, and let’s get building—your living room will thank you.

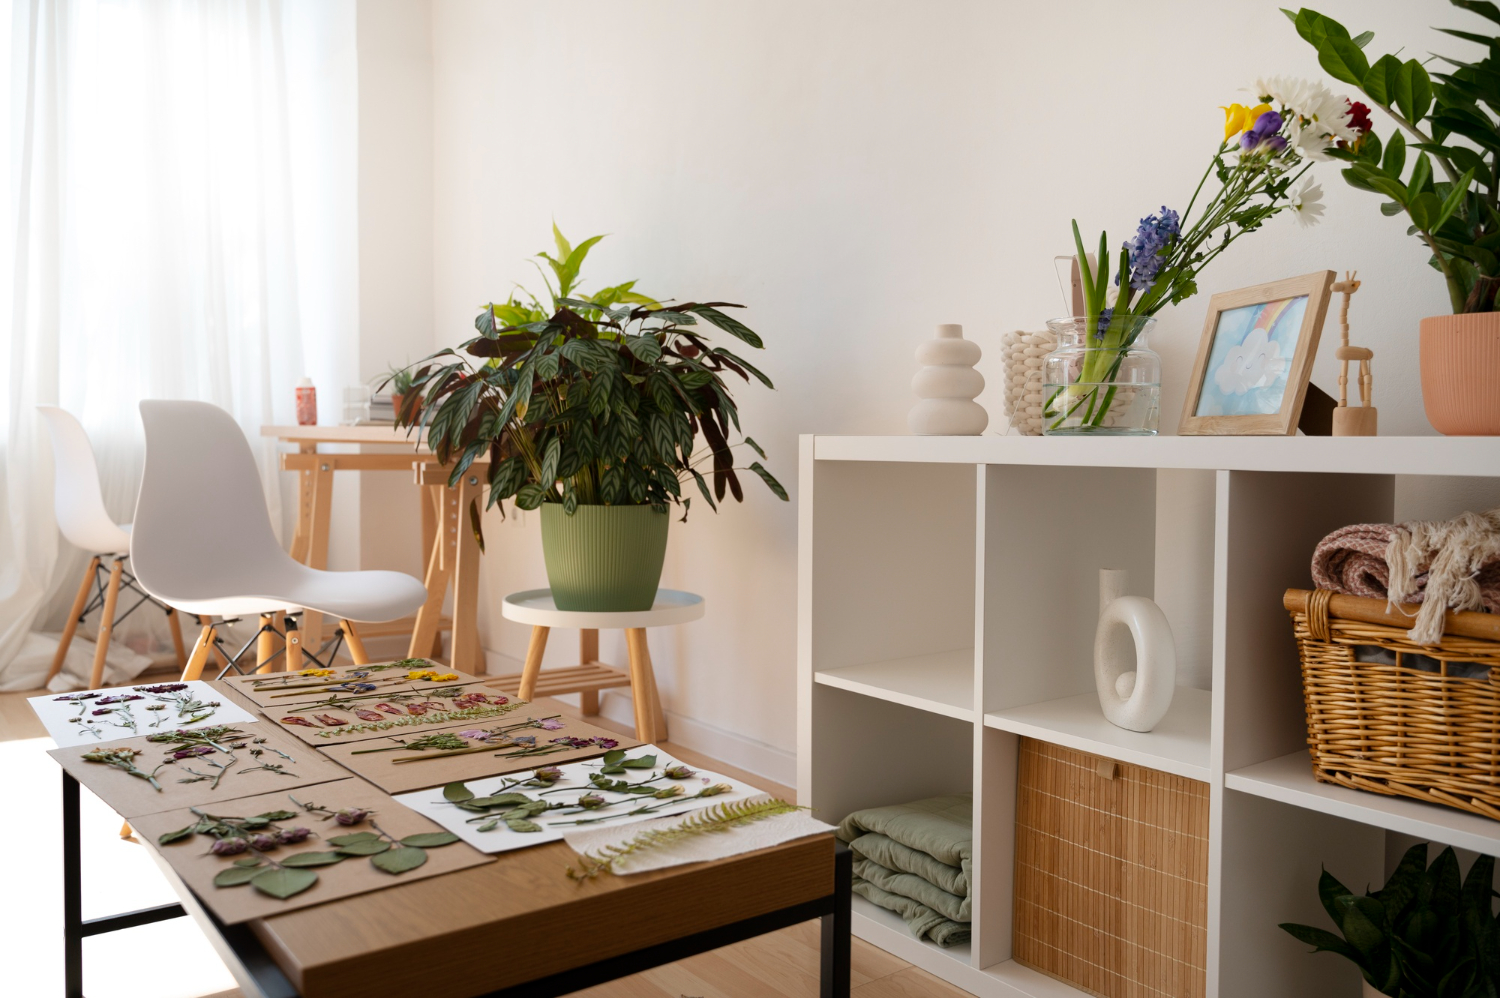
Photo by Stockgiu from Freepik
Materials Needed for Building a Coffee Table with Storage
For this DIY project, you’ll need the following:
- Wood boards: two pieces of wood for the tabletop (1″ x 12″), four pieces for the legs (4″ x 4″), and one longboard for the shelf (1″ x 12″)
- Wood glue
- Nails or wood screws: 2 1/2″ screws for the legs, 1 1/4″ nails for the tabletop and shelf
- Sandpaper (150 and 220 grit)
- Wood filler (optional)
- Primer (optional)
- Paint or stain (optional)
Discover More: A Guide to Classic Modernity With 33 Wood Coffee Table Designs
Tools Required
To build the coffee table, you’ll need some essential tools:
- Circular saw, jigsaw, or handsaw to cut the wood
- Cordless drill to drive in the screws
- Clamps to hold pieces together while the glue dries
- Paint brushes (if painting)
- Rags
- Goggles, dust mask, work gloves
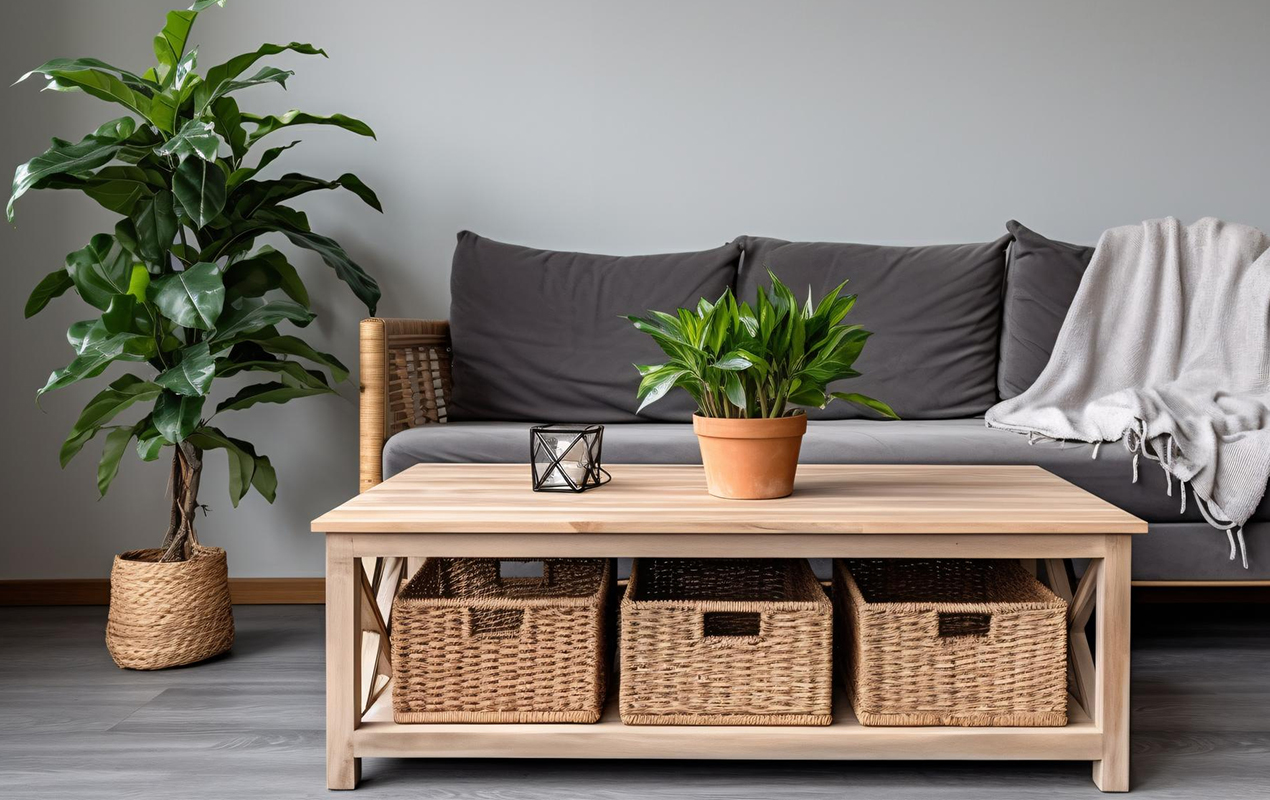
The key is to cut all pieces to size before assembling the table base. Then, secure the legs to the tabletop’s underside, ensuring the table sits level. Glue and clamp, then reinforce with screws. For extra storage, center and attach the shelf board between the legs—a few inches from the floor works well. This creates an open space below perfect for baskets, bins, or whatever you choose to corral small items.
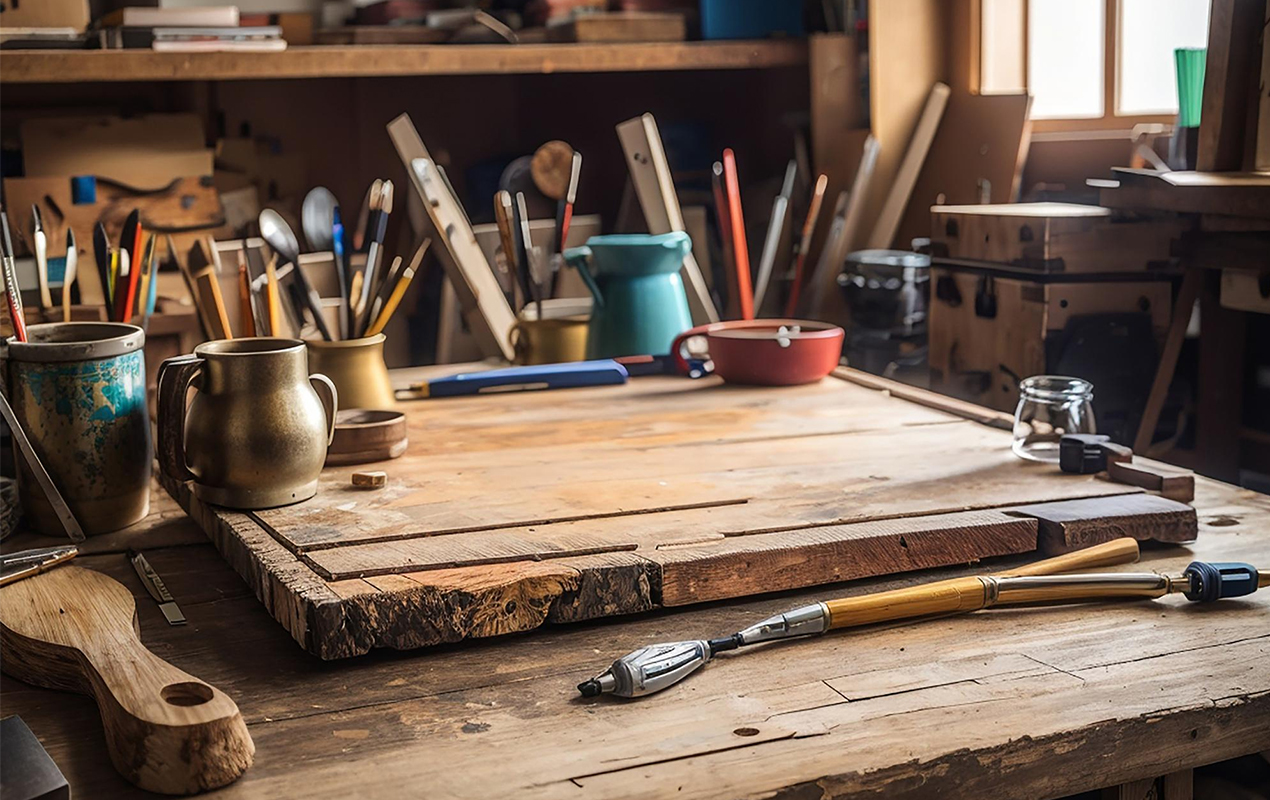
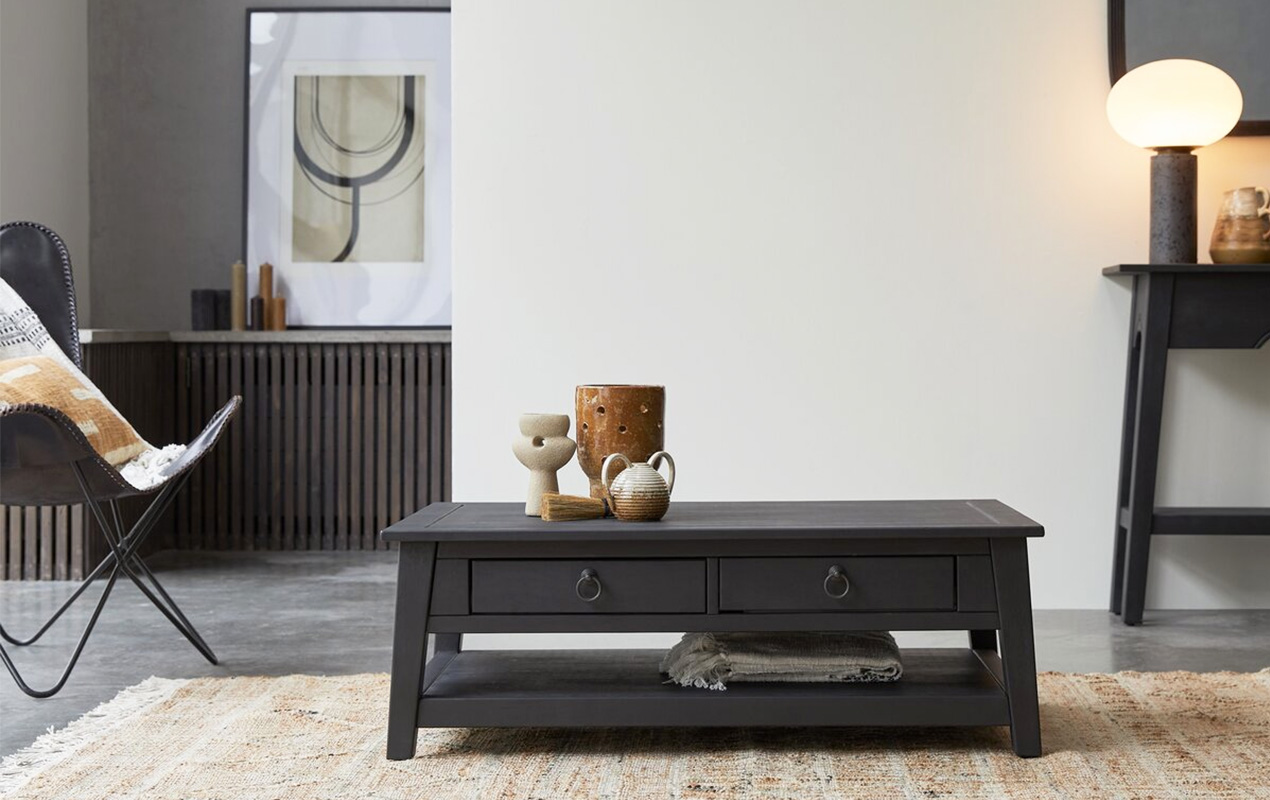
Photo by dayalguru from Freepik
Insight – Don’t risk damaging your flooring. Protect it by attaching furniture feet or rubber bumpers to the bottom of your furniture legs. It’s a simple and effective solution that can save you from costly repairs in the future.
Step-by-Step Instructions for Building the Base Frame
To build the base frame, you’ll need the following supplies:
- Four 2″ × 4″ boards for the legs, cut to your desired table height
- Two 2″ × 4″ boards for the side rails
- Two 2″ × 4″ boards for the end rails
- Wood glue
- 2 1/2″ wood screws
Step 1: Attach the side rails
Lay two legs parallel to each other on the floor. Place one side rail at the top end of the legs and the other at the bottom end. Apply wood glue to the ends of the legs where the side rails will attach. Then, place the side rails on the legs and clamp them in place. Drill pilot holes through the side rails into the legs and screw them in place with wood screws.
Step 2: Attach the end rails
Repeat the same process to attach the two end rails between the other ends of the legs. The end and side rails should be parallel as this forms the base frame of your table.
Step 3: Add extra support (optional)
For added stability, you can add an extra set of side and end rails about halfway up the legs. Glue and screw these in place with the same technique used for the top rails. An additional center rail attached between the two end rails will also provide extra support for the tabletop.

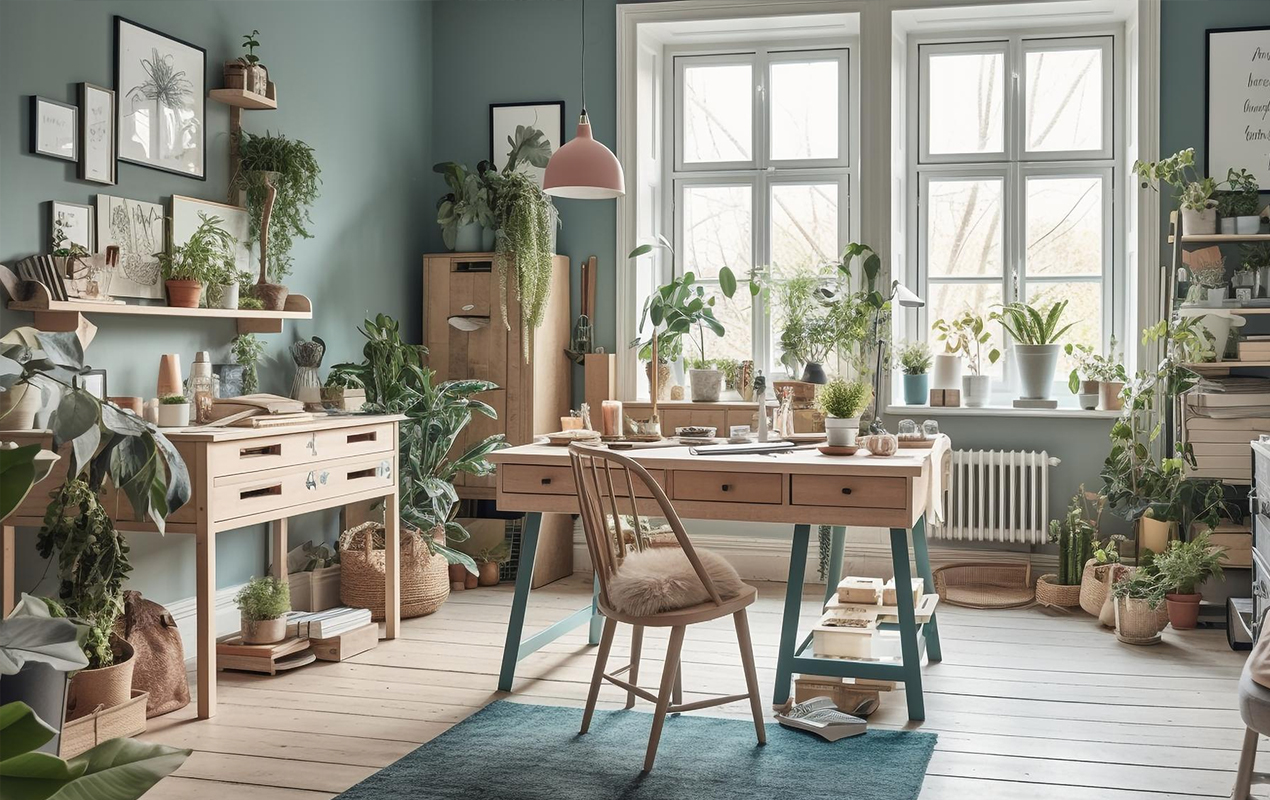
Photo by Miamiastock from Freepik
Insight – For a more durable and attractive finish, consider hardwoods like oak or maple. Pine or fir are affordable options that will work well for the frame and shelf boards.
How to Build a Coffee Table with Storage: Adding Drawers and Shelves
Adding drawers and shelves to your DIY coffee table provides valuable storage space. Here are some tips to get you started:
Gain Insight: Craft a Custom Piece With Our 19 DIY Coffee Table Design Ideas
Choose a Design
Do you want open shelving, drawers, or a combination of both? Consider your needs and how much storage space you require. Drawers are great for smaller items you want to keep hidden, while open shelving displays decorative items. You can also mix shelving on one side and drawers on the counterpart.
Select Materials
Wood boards like pine, cedar, or plywood pair well with the table base for the shelving and drawer fronts. Repurposed wood, like barn wood, adds rustic charm. For the drawer sides, bottoms, and backs, plywood works fine. You’ll need drawer slides, handles or knobs, and wood glue or brad nails.
Read More: Create a Warm Welcome With 24 Pine Coffee Table Design Styles
Add the Shelving
Cut the wood to size for your shelves. Then, secure the shelves to the inner sides of the table base using glue and brad nails or pocket screws. Ensure the shelves are level and leave space in between for the drawers. Consider using removable shelves in case you want to reconfigure the spacing in the future.
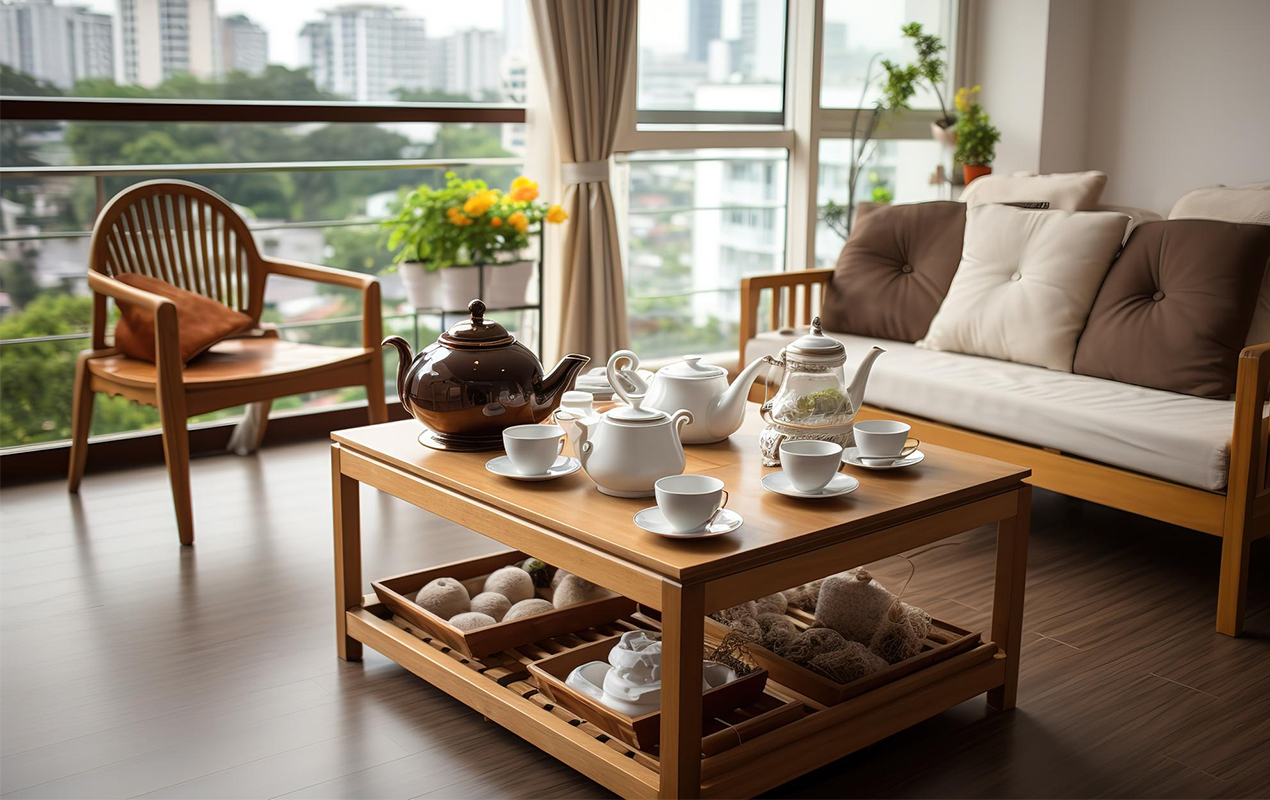
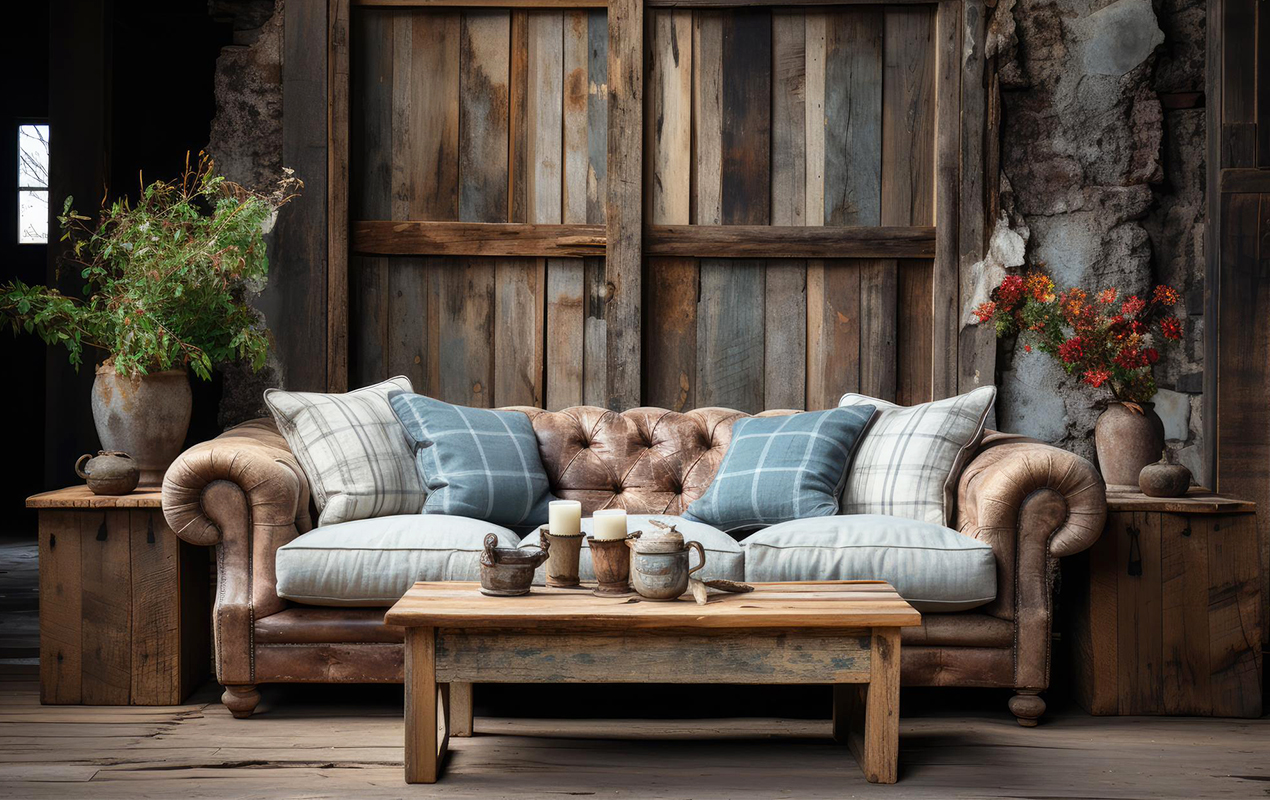
Photo by Digital_Ink from Freepik
Insight – Don’t forget to add trim molding to your table! It’s optional but can help hide gaps and give your table a polished finish. For best results, make sure to miter the corners when joining the molding strips around the edges.
Build the Drawers
Construct drawer boxes to fit the spaces between your shelves. Cut the plywood to size for the drawer sides, bottom, back, and front. Glue and nail the pieces together, then slide the drawer bottoms into grooves in the sides for stability.
Discover More: Coffee Table With Drawers: 16 Slick Ideas for Dual Function & Style
Install Drawer Slides
Mount the drawer slides to the underside of your tabletop and the outer sides of the drawer boxes. Extend the slides, place the drawers on them, and secure them following the product guidance. This allows the drawers to glide smoothly open and closed.
Add Knobs or Handles (Optional)
For an easier grip, you can attach knobs or handles to the front of the drawers. Choose a style that matches your base and install it according to the hardware advice.
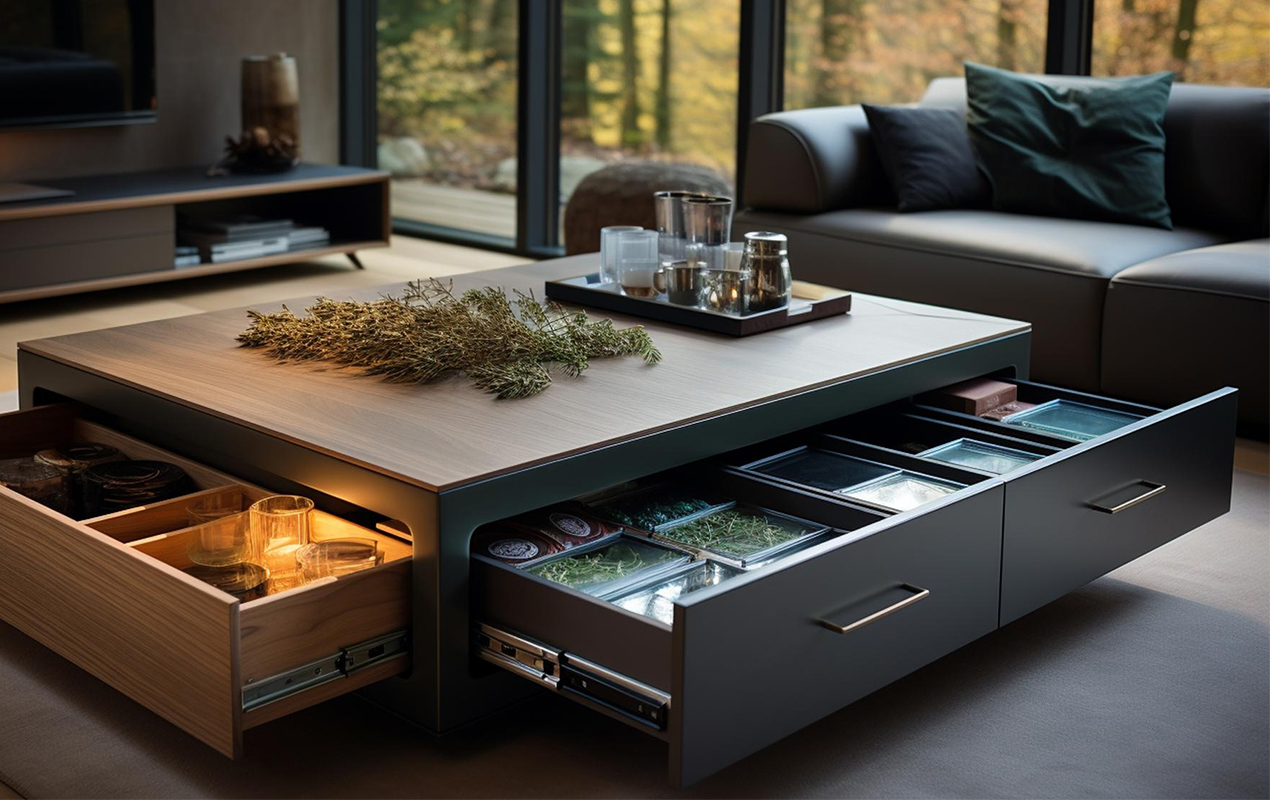
Photo by Swis from Freepik
How to Build a Coffee Table with Storage: Final Details
Once your frame and storage areas are built, it’s time for the finishing touches to really make your table shine. Adding stain, paint, or hardware is a simple way to customize the look to match your decor.
For More Info: Sand, Stain, Seal: A Guide On How to Refinish A Coffee Table
Stain or Paint
Staining is an excellent option if you want to show off the natural wood grain. Wipe on a stain or use a staining pad to apply it evenly. Let it soak in as directed, then wipe off any excess with a rag. For extra protection, apply a topcoat with a sealant like polyurethane.
If you prefer a solid color, the paint will transform your table. Apply a primer first for the best adhesion. Then, roll or brush on two coats of latex or chalk paint, waiting for each coat to dry in between. For a distressed look, sand edges and surfaces lightly before the final coat. Seal the paint with a clear topcoat to protect it from scratches and spills.
Read More: Embellish Your Home with 25 Painted Coffee Table Design Ideas
Hardware
Adding hardware is an easy way to elevate the style of your coffee table. Look for drawer pulls, knobs, or handles that complement the stain or paint color. Install the hardware according to the included advice. For a minimal, modern look, also consider flush-mount hardware that sits nearly flush with the surface of the drawer front.
Additional thins consider include:
- Corner brackets for reinforced corners
- Felt pads under the legs to protect floors
- A lazy Susan for the storage area to keep items organized
- Magnets to secure a hinged top in the open position
- Cup pulls for an easy grip to open drawers or lift a hinged top
Read More: 29 Coffee Table Decor Tips: Subtle Touches for Maximum Impact

Photo by IamMujahidMalik from Freepik
Insight – Ensuring all moving parts and storage components function correctly is important. Test the lift-top and assure it opens and closes with ease. Then, check that the drawers slide smoothly to avoid any potential frustration down the line.
Final Thoughts
You now have all the information you need on how to build a coffee table with storage. Grab some wood, fire up your tools, roll up your sleeves, and get to work. Before you know it, you’ll be proudly displaying your custom creation for all to see. Your friends and family will be impressed with your skills, and whenever you need to stash away clutter or want to display your favorite coffee table books and magazines, you’ll appreciate having that storage space.
Building furniture yourself is incredibly rewarding. Give this coffee table project a shot—you’ve got this! Post photos of your completed masterpiece online and inspire others with your ingenuity and craftsmanship. Most of all, enjoy your new favorite spot in the house. You earned it!

