20 Square Coffee Tables: Modern, Rustic, and Eclectic Ideas
-
Posted by
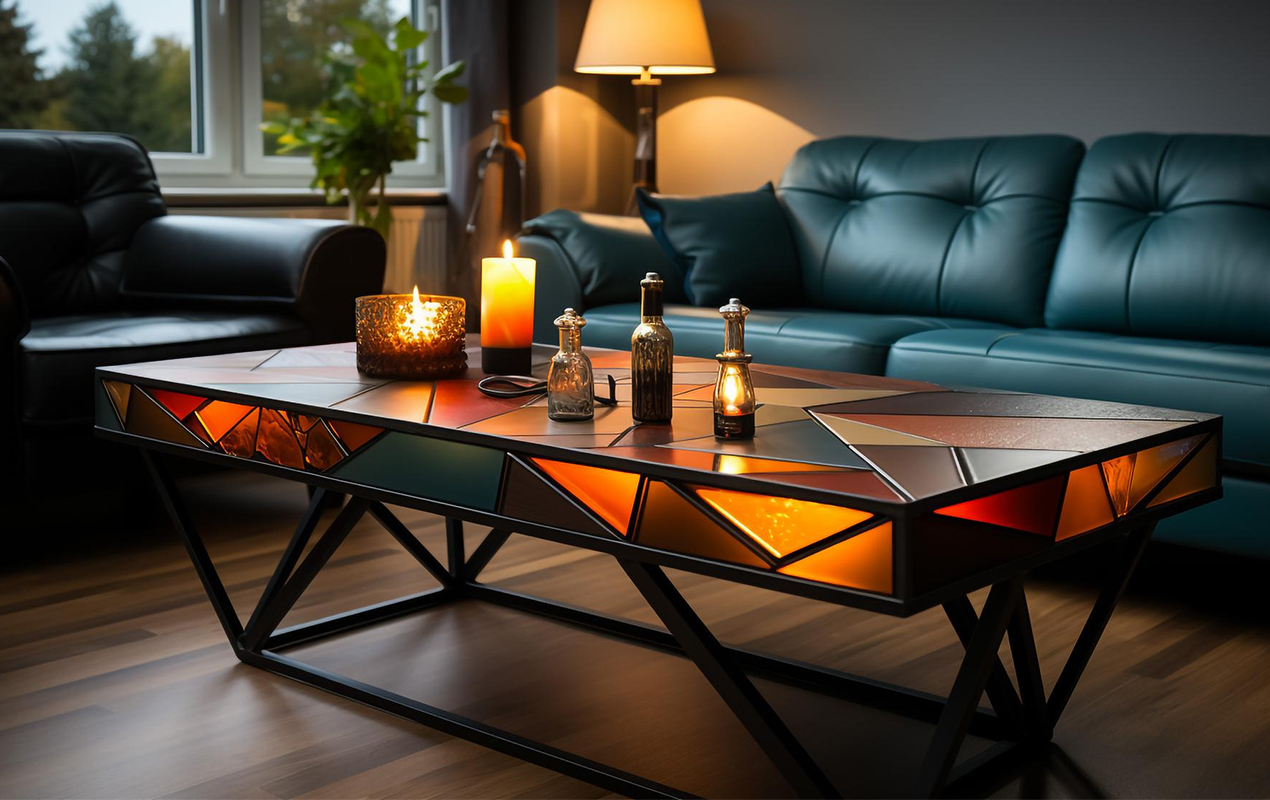
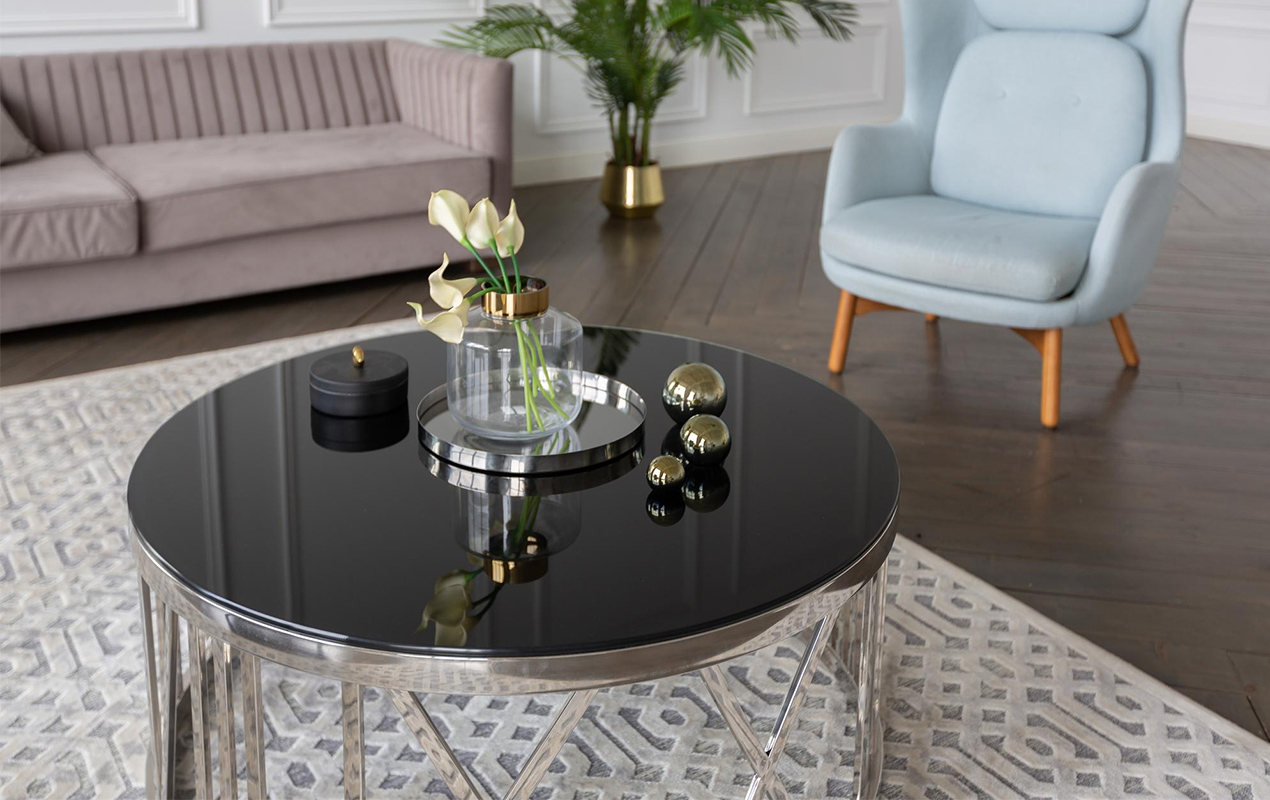
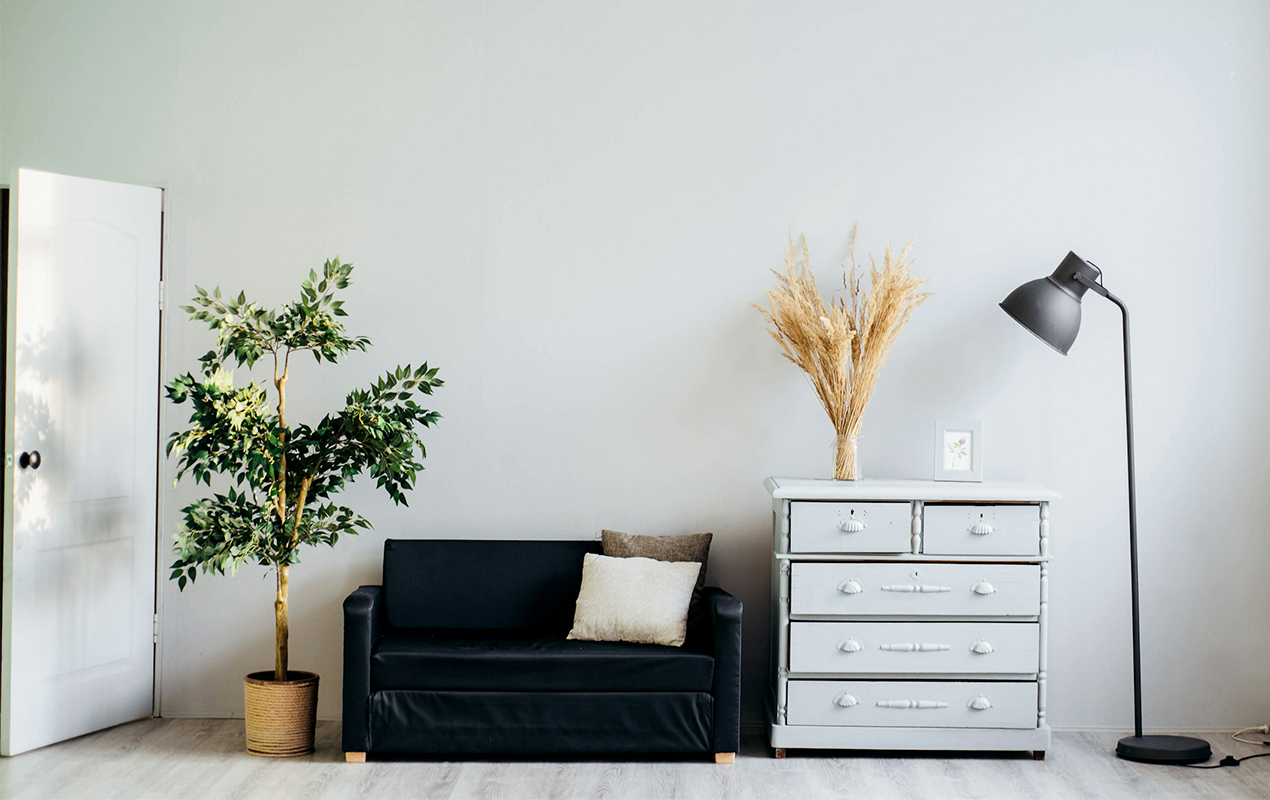
Square Coffee Tables
Square coffee tables have become a popular choice for...

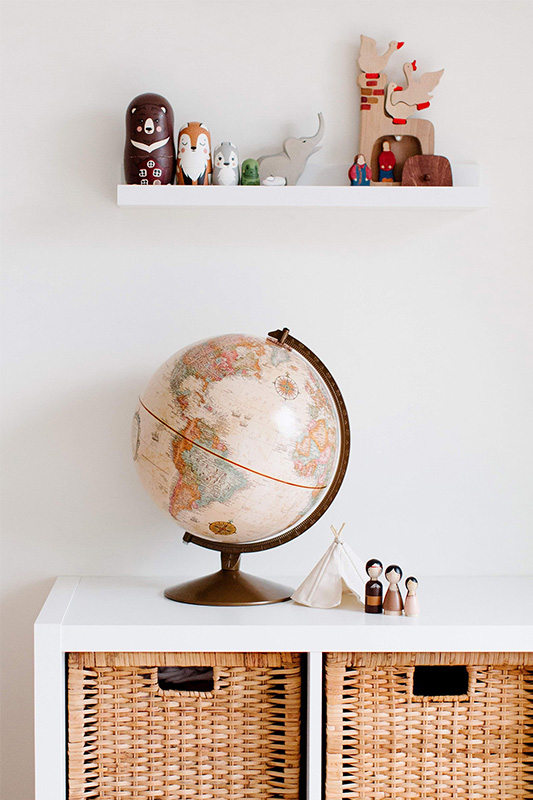
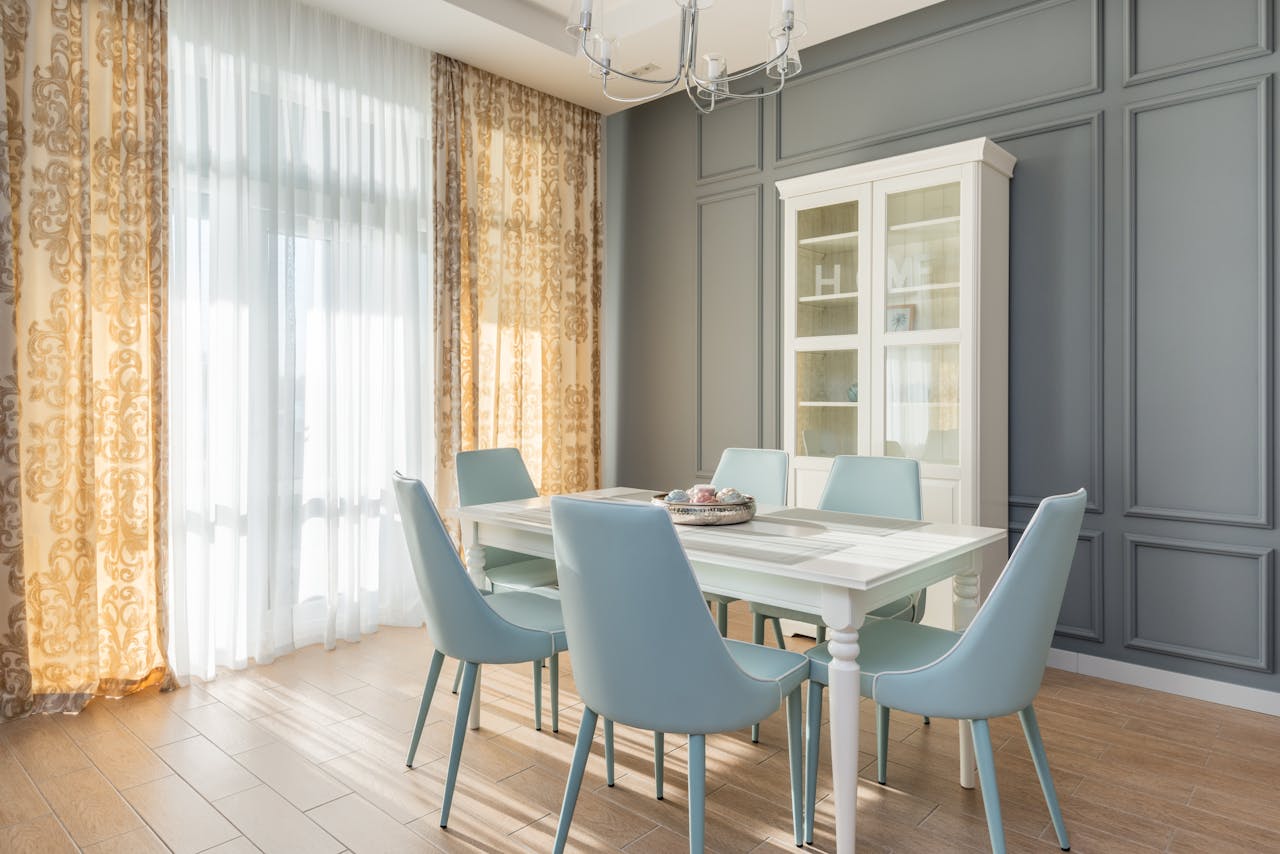
Whether you’re in a smaller studio flat or a penthouse apartment, an …
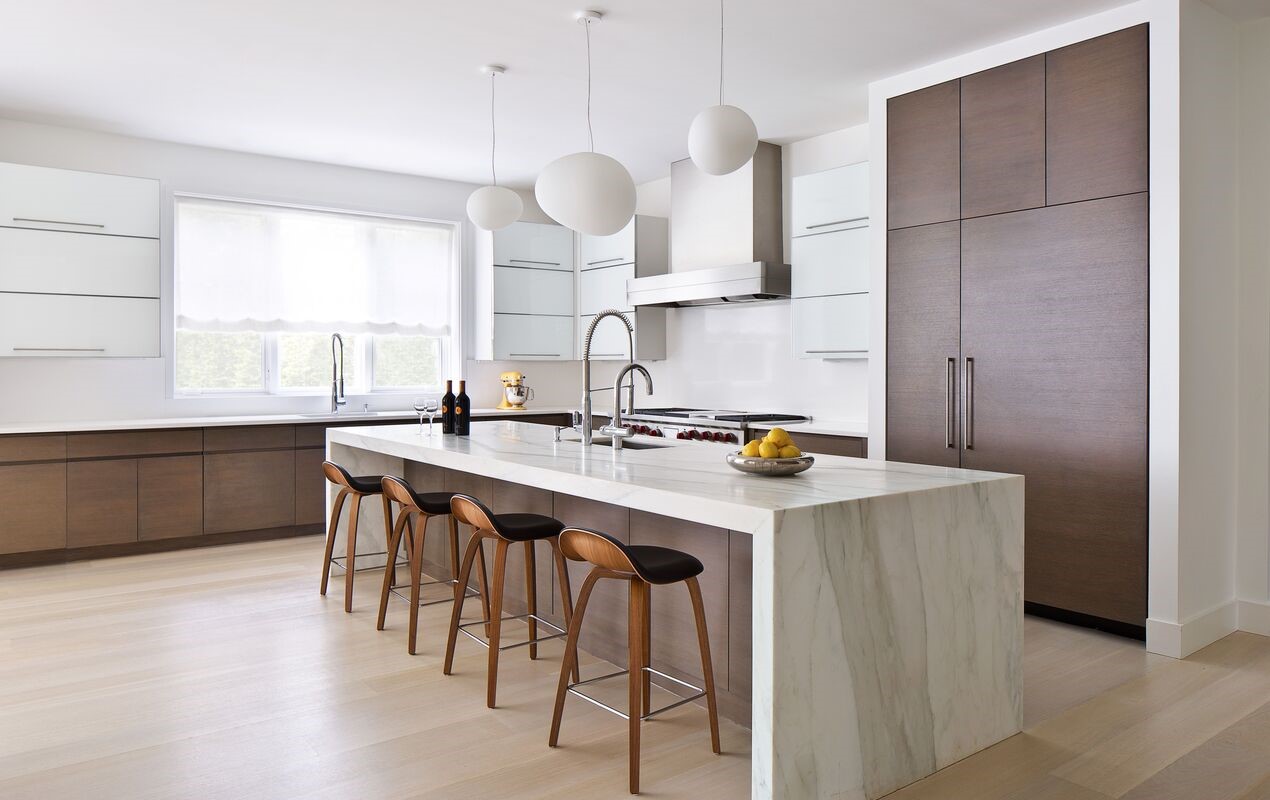
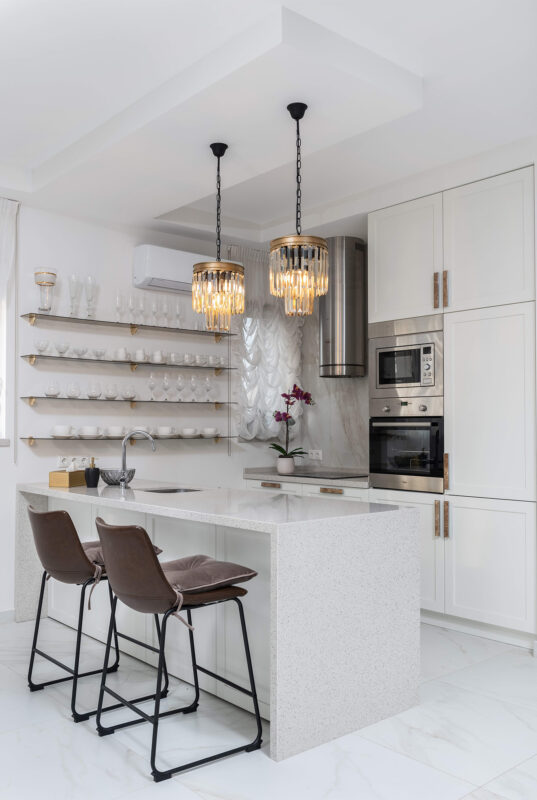
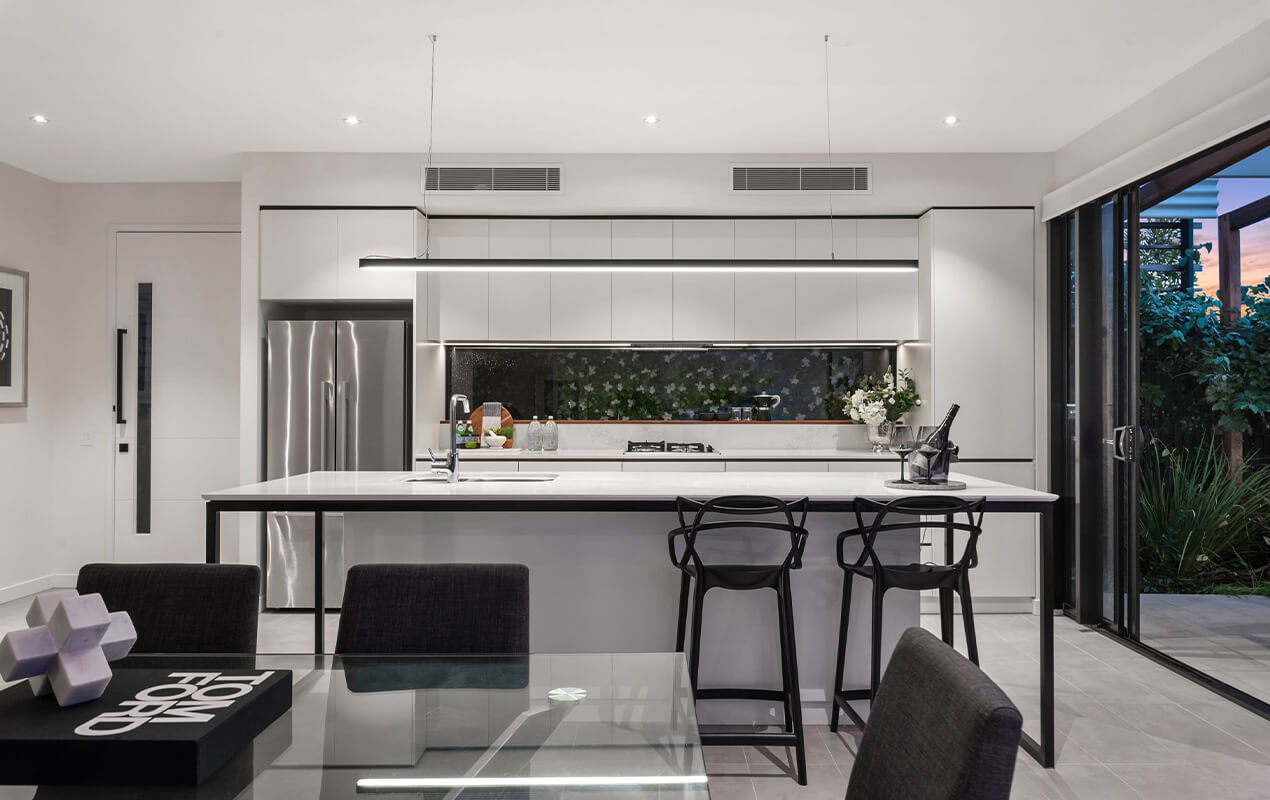
When taking on the task of utilizing space, a kitchen island with …
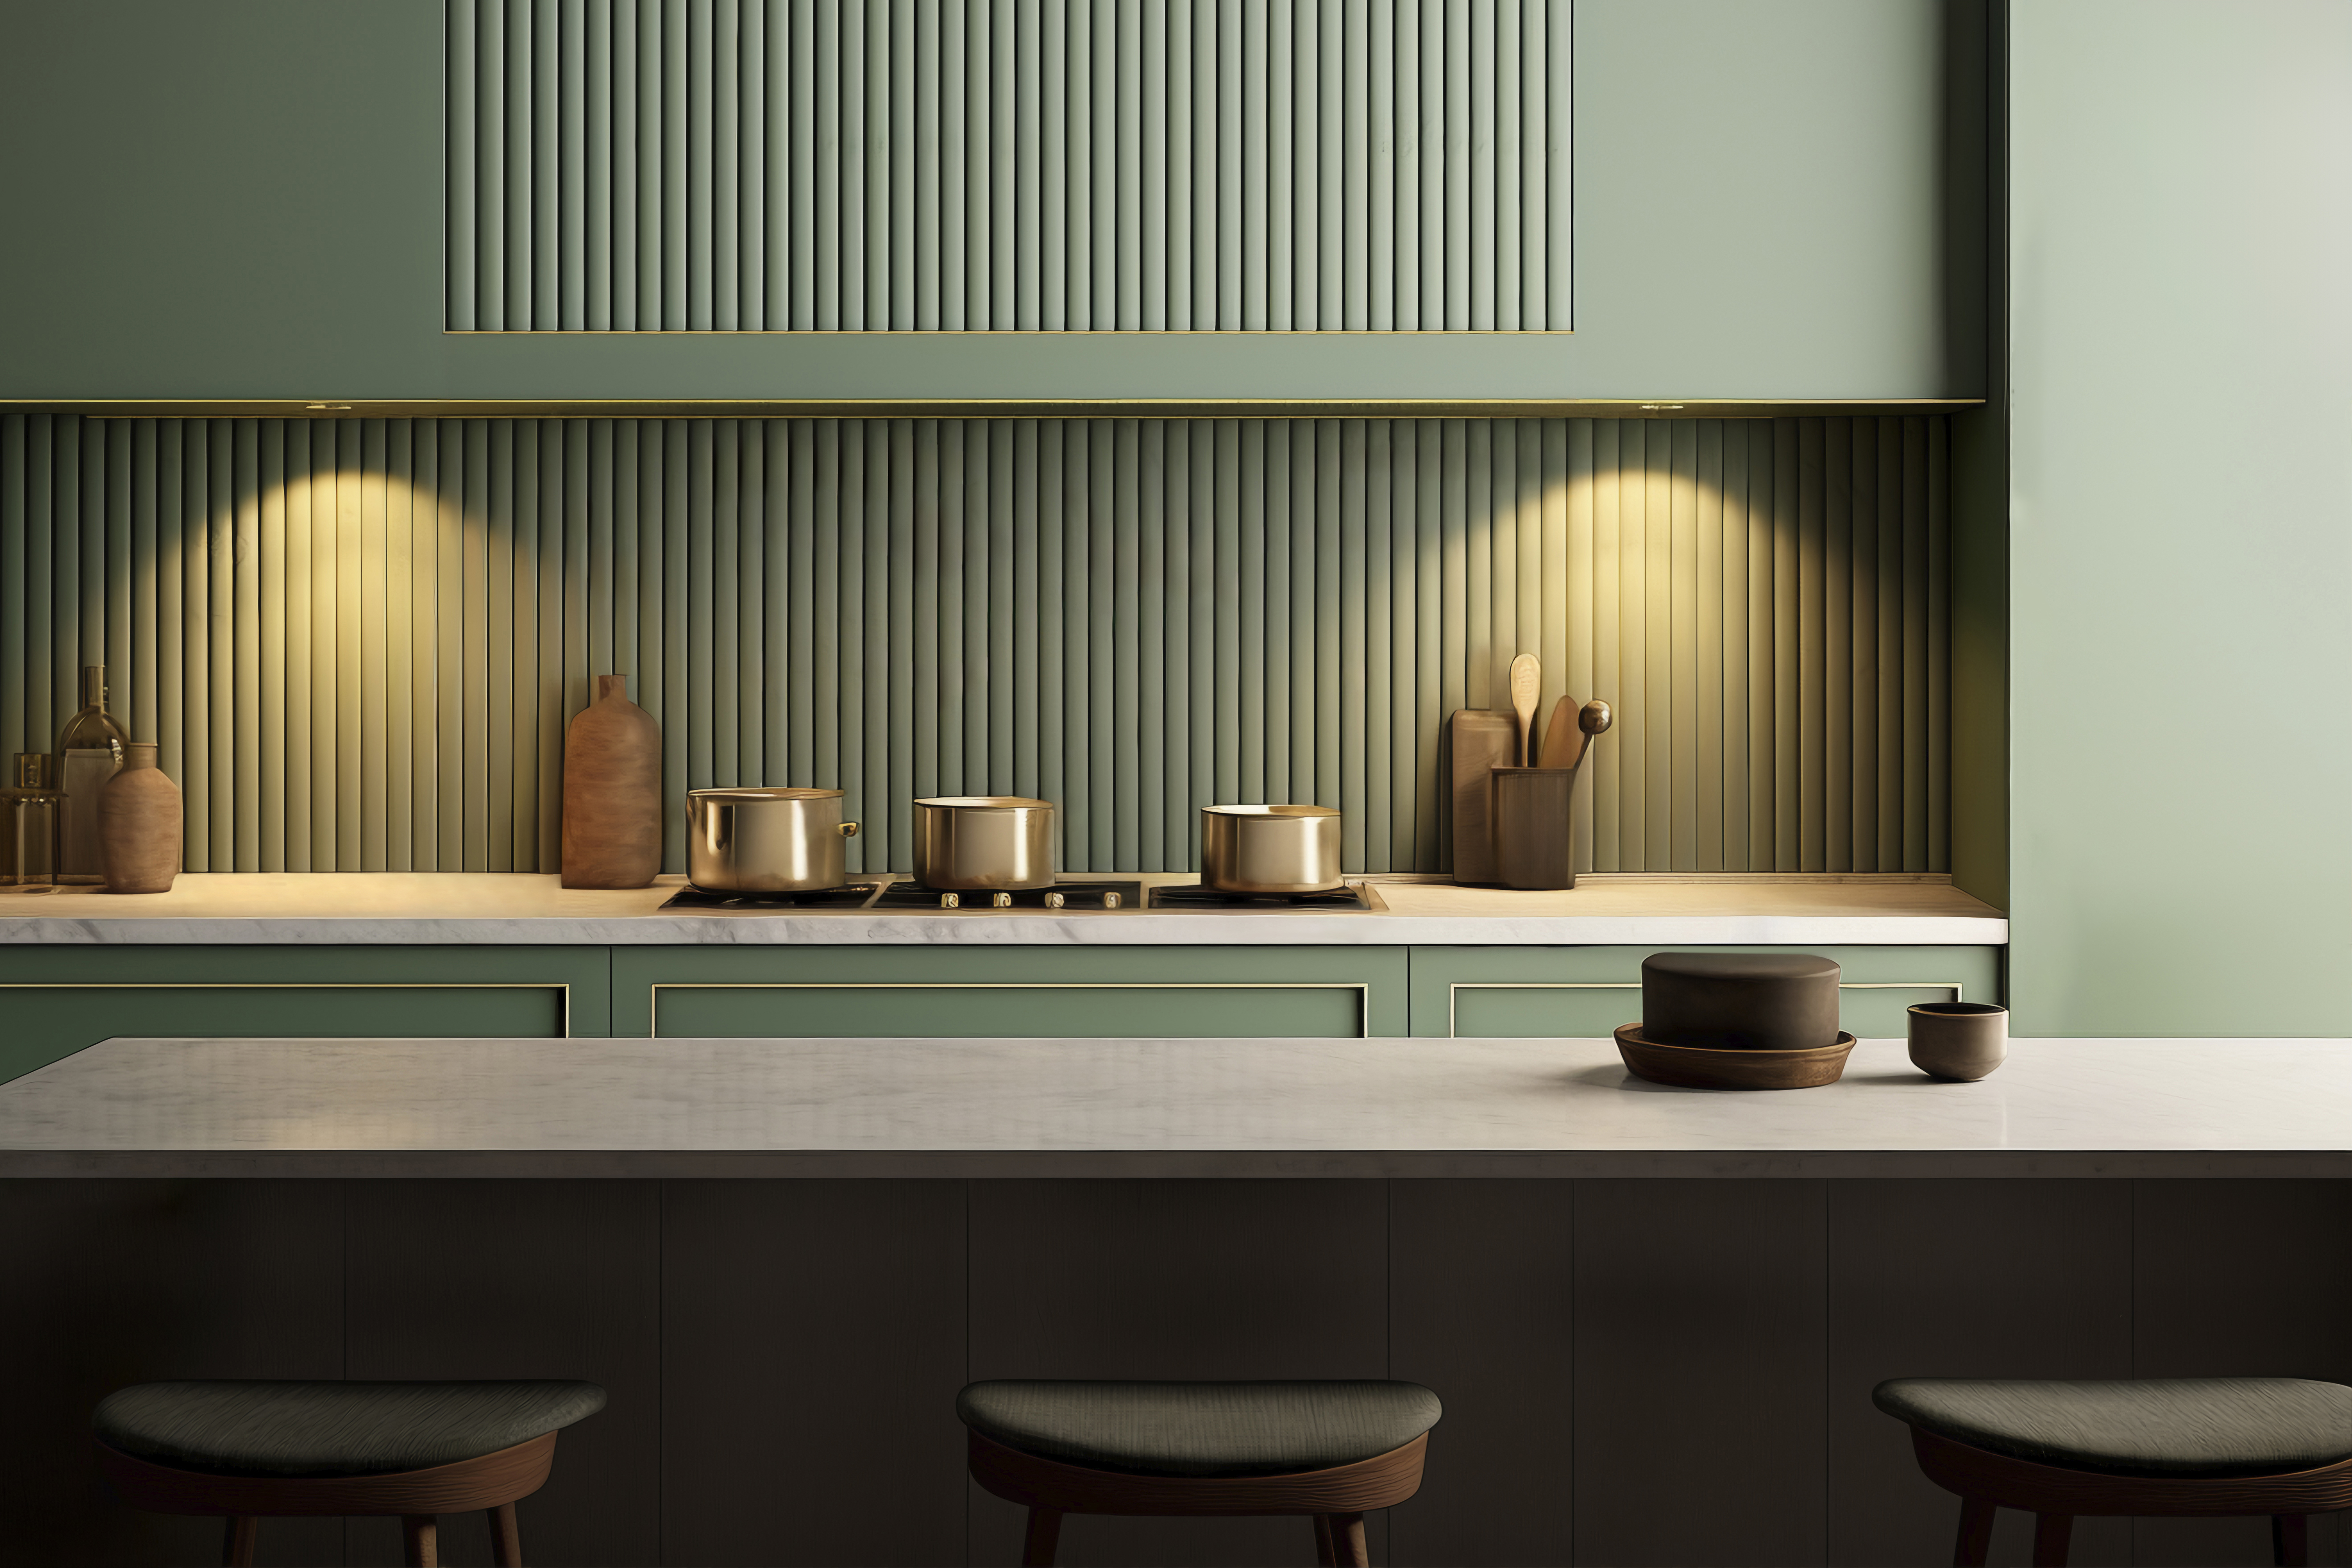
Installing wall cladding in your kitchen is a great way to add style, durability, and ease of maintenance to your space. Whether you’re aiming for a modern look or simply want to make your kitchen more hygienic, wall cladding can be the perfect solution. This guide will walk you through each step of the process to ensure a smooth and efficient installation.
Wall cladding provides a hygienic, low-maintenance surface for areas exposed to moisture, making it ideal for kitchens. Simply Cladding offers a variety of cladding options that are not only durable but also resistant to moisture, mould, and bacterial growth. It’s a practical choice for anyone looking to maintain a clean kitchen environment while improving its aesthetic appeal.
Before beginning your installation, gather the following materials and tools:
Having these tools on hand will ensure you have everything needed for a successful project.
Measure the dimensions of the wall where you’ll install the cladding. Use a tape measure for accuracy and mark the areas where the cladding will be placed. You should also ensure the wall is clean and dry before proceeding. If there is any old wallpaper or loose paint, remove it to create a smooth surface for the cladding.
Once you’ve taken your measurements, cut the wall cladding to fit. You can order pre-cut cladding to save time and ensure a perfect fit, or cut it yourself using a utility knife or scissors. Remember to measure twice before cutting to avoid mistakes.
Apply adhesive to the back of the cladding sheet using a notched trowel, spreading it evenly. Ensure there’s enough to secure the cladding, but not so much that it squeezes out from the edges. Work in small sections to prevent the adhesive from drying out before you can apply the cladding.
Position the cladding sheet on the wall, starting at the bottom and working upwards. Use a spirit level to ensure it’s straight, then press it firmly to create a strong bond with the adhesive. If you’re installing multiple sheets, leave a small gap between them to allow for expansion.
Once the cladding sheets are in place, use fitting profiles and trims to finish the edges for a neat, professional finish. Trims also secure the cladding and prevent gaps at the joints. Make sure the trims are aligned properly to achieve a clean and cohesive finish.
To prevent moisture from seeping behind the cladding, apply silicone sealant to all edges and joints. This step ensures that the cladding is sealed and helps to prolong its lifespan. Wipe away any excess sealant for a tidy finish.
Installing wall cladding in your kitchen enhances both its functionality and style. Whether for aesthetics or hygiene, the process is straightforward and rewarding. If unsure about DIY, consult a professional for the best results. With the right tools and materials, you’ll create a beautiful, functional kitchen quickly and easily.